Buying Travel Photo Prints: A Sizing Guide That Saves You Money
Reviewed for accuracy on Mar 8, 2026
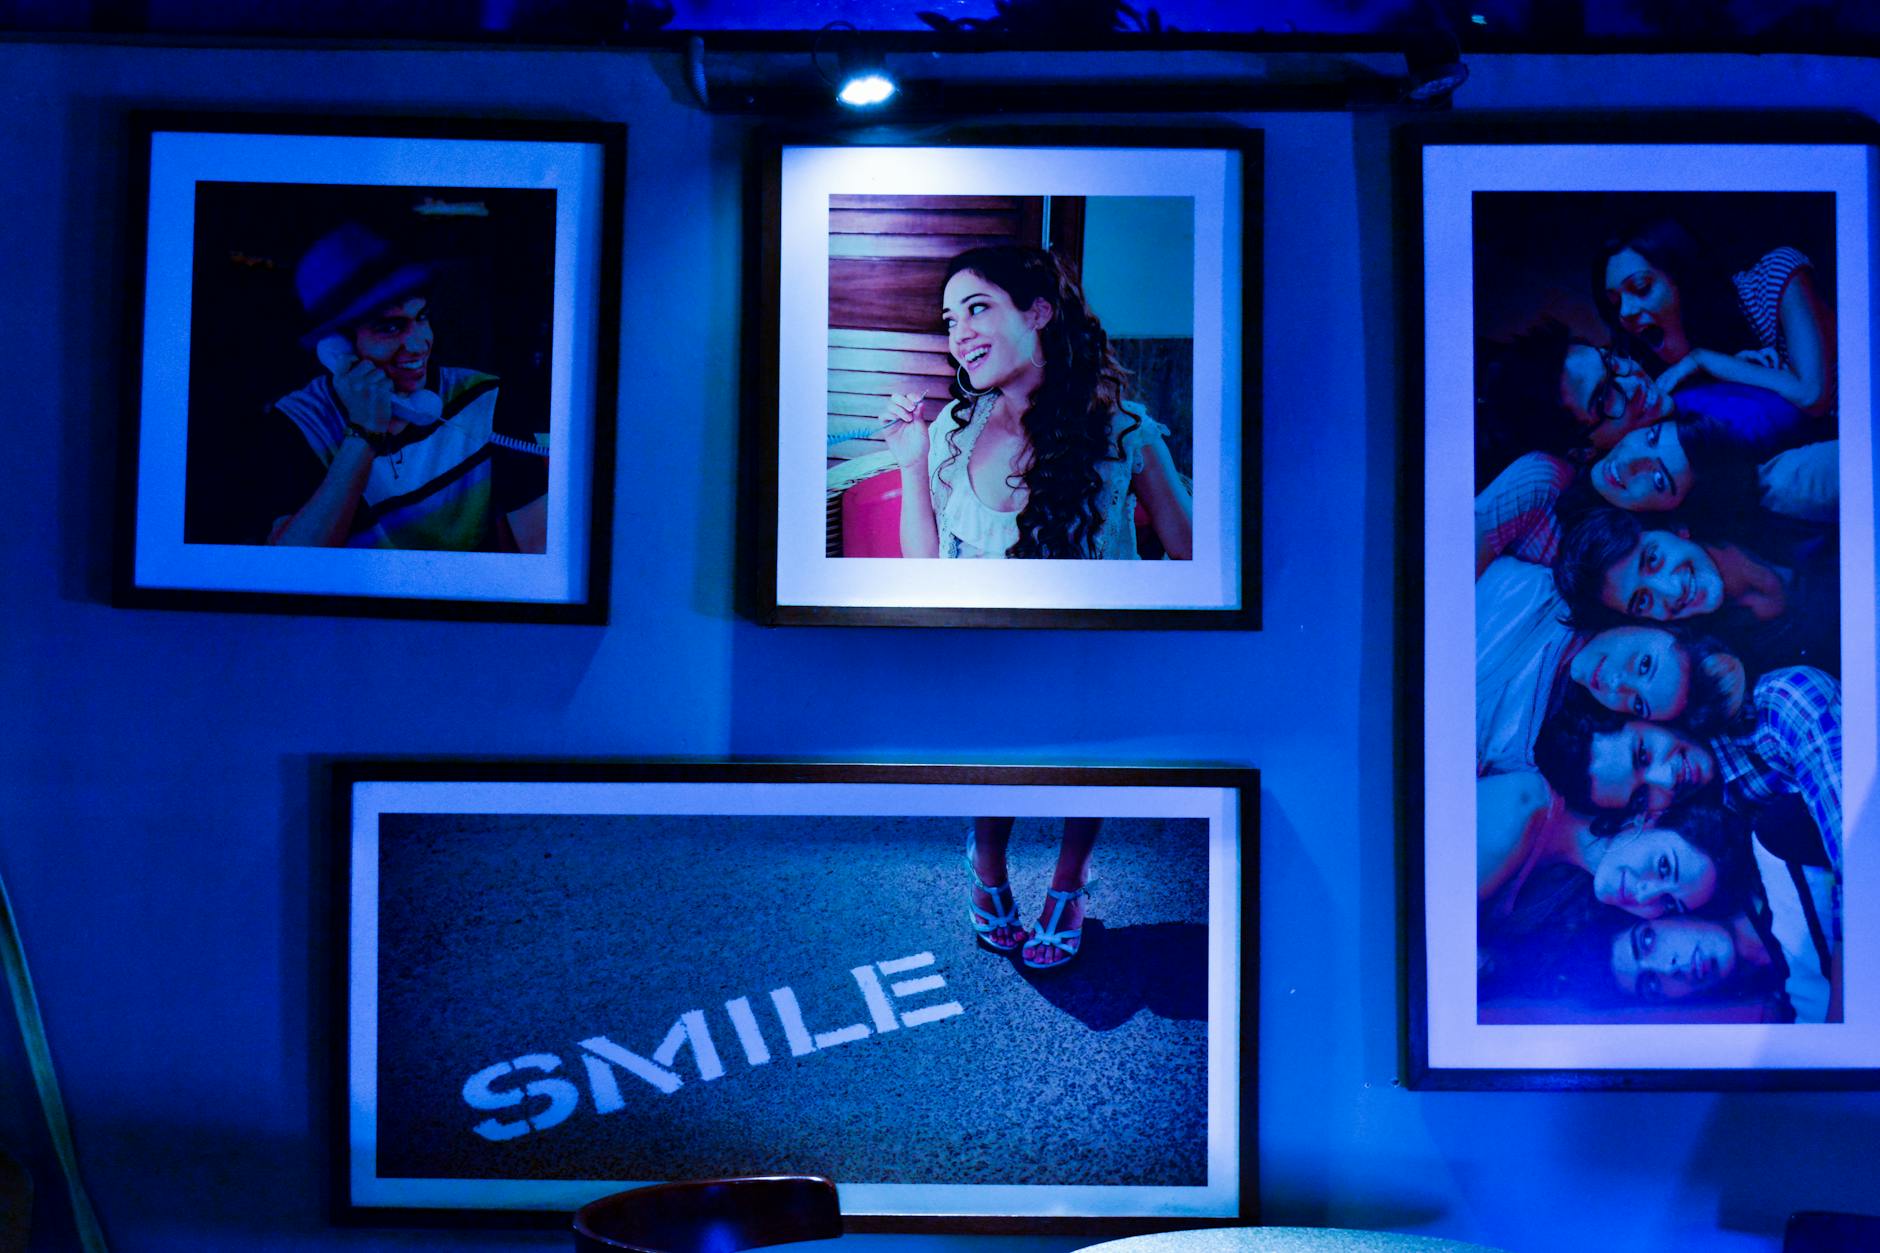
I've sold prints for years and the single most common buyer mistake is also the most expensive: picking a size based on what looks "big" in a thumbnail and ending up with a print that swallows the wall, fights the furniture, or shows pixelation up close. The sizing decision is the entire purchase.
This is the guide I wish I could send to every customer before they hit checkout. None of it is rocket science. All of it is the difference between a print you love for a decade and a print that ends up behind the door.
The standard print sizes that actually work
Most print shops support a handful of sizes that match common frame stock. The ones I'd actually recommend, with the wall they fit:
- 8×12 (3:2 small) — entryway, hallway, gallery wall cluster, desk shelf. The "more than one" size. Buy three or four together.
- 12×18 (3:2 medium) — the workhorse. Bedrooms, offices, anywhere you want a single print without it taking over.
- 16×24 (3:2 large) — living room secondary wall, dining nook, above a credenza. The size most people should be buying when they think they want "a big print."
- 24×36 (3:2 statement) — over-the-couch piece, primary bedroom, foyer. This is where a print becomes furniture.
- 30×45 (3:2 oversize) — full statement wall. You need a 9-foot wall and 8 feet of viewing distance for this to work.
Square prints (1:1) are 12×12, 18×18, 24×24, 30×30. Square works beautifully for portraits and tight crops. It almost never works for landscapes.
Aspect ratios for travel photography
Most travel photography is shot at 3:2 — that's the native aspect ratio of a 35mm camera, full-frame mirrorless, and most APS-C bodies. Phones are typically 4:3 (a slightly squarer crop) or 16:9 (cinematic widescreen).
What this means for prints:
- 3:2 (8×12, 16×24, 24×36) is the default. If the photo was shot on a real camera, it was probably composed for this ratio.
- 4:3 (8×10 or 12×16) is the iPhone native ratio. If you're printing phone photos, look for 4:3 sizes — cropping a 4:3 frame to 3:2 chops 12% off either the top or sides.
- 16:9 (12×24 or 16×32) is the cinematic ratio. Works beautifully for sweeping landscapes — Hawaii cliffs, Baja coastlines, Bangkok skylines — and almost nothing else.
- 1:1 (square) is for portraits, food, architectural details. Rare for landscape travel work.
If you're not sure what ratio your photo is, ask. A good print shop will tell you the native ratio of the file before they sell you a size that requires cropping.
The DPI trap
This is the one that costs people the most money and the one that's the easiest to get right.
DPI (dots per inch) is how dense the printer lays down ink. The print industry minimum for sharp results is 200 DPI. The ideal for fine-art prints is 300 DPI. Below 150 DPI, you'll see pixelation up close.
What this means in practice: a 24-megapixel photo (6000×4000 pixels) prints sharp at:
- 8×12 at 500 DPI (overkill)
- 16×24 at 250 DPI (excellent)
- 24×36 at 167 DPI (acceptable from 6 feet away, soft up close)
- 30×45 at 133 DPI (visibly soft up close — you need a 40+ megapixel file)
If you're printing your own photos and you have a 24-megapixel camera, your hard ceiling is roughly 24×36. Above that you want at least a 40-megapixel sensor (Sony A7RV, Fujifilm X-T5, Canon R5) or to be standing at least 8 feet from the print.
I cover the sensor question in detail in my best travel cameras guide, and the actual technique for capturing print-worthy frames in my golden hour photography guide. Both decisions feed directly into how big your prints can go.
Framing and matting
The frame and mat add 4 to 8 inches to the visible footprint of the print. People forget this constantly.
- 8×12 print + 2-inch mat + frame = roughly 14×18 on the wall.
- 16×24 print + 3-inch mat + frame = roughly 24×32 on the wall.
- 24×36 print + 4-inch mat + frame = roughly 34×46 on the wall.
Measure the wall before you buy. Mark out the framed footprint with painter's tape. If it looks crowded with tape on the wall, the actual print will look worse.
A few things I've learned about framing:
- White or off-white mats are the safe choice and the right choice 90% of the time. Black mats are dramatic and date quickly. Colored mats almost always fight the photo.
- Thin black or natural-wood frames work for almost any travel photo. Ornate gold frames work for almost no travel photo.
- Float-mount on dibond (no glass, no frame) is the modern gallery look and worth considering for 24×36 and up.
- Acrylic over glass for anywhere with sun exposure. Glass reflects, fades faster, and weighs more.
A note on frame stores: the markup at standard custom framing chains is roughly 4x. If the print shop offers framing, compare prices. If not, IKEA frames in standard sizes are fine for prints under $200.
Where each size actually works
Let me ground these in real walls:
- 8×12 cluster of three or four — over a desk, in a hallway, above a bench in an entryway. A travel-themed cluster (one Hawaii, one Mexico, one New York) makes a story.
- 12×18 single print — bedroom over a nightstand, office above the desk, kid's room. Personal scale.
- 16×24 single print — second bedroom, dining wall, above a console table. The size that most homes accommodate easily.
- 24×36 statement — over the couch, primary bedroom focal wall, above the bed. This is the size you commit to.
- 30×45 oversize — entryway with high ceilings, restaurant-scale dining room, full statement wall in a loft. You need real space.
A common mistake: buying one 8×12 for a wall that wants a 24×36. The print disappears, you stop seeing it, and a year later you replace it. Buy bigger than you think.
Picking the right photo for the size
Not every photo scales up well. Here's what I look for when I'm choosing what to print large:
- Strong foreground. Big prints amplify whatever's wrong with composition. A weak foreground at 8×12 is a hole in the wall at 24×36.
- A dominant subject. Empty landscape shots that work at small sizes lose impact at large sizes. The eye needs an anchor.
- Rich contrast and color. Pastel and muted tones get muddy at scale. The photos that print biggest in my catalog are the ones with deep blacks, saturated mids, and bright highlights.
- Sharpness all the way out to the corners. Soft corners that you can't see at 8×12 become very visible at 24×36.
If you want to see how this plays out in practice, my gallery is organized by destination, and the sizing recommendation under each photo factors in resolution, sharpness, and aspect ratio. If something you want isn't there at the size you need, ask — I keep most files at native sensor resolution and can usually print up to 24×36 without issue.
What I'd do differently
When I started selling prints, I undersized everything. Customers would ask for an 11×14 of a Hawaii sunset, I'd ship it, and a year later they'd email asking if I had it bigger. Now I gently push everyone up one size. The 16×24 is almost always more right than the 12×18. The 24×36 is almost always more right than the 16×24. The smaller size is what fits the wall today; the bigger size is what you'll stop noticing in three months because it looks like it belongs.
If you're between two sizes, go bigger.
Final thoughts
The right print is the one that looks like it was meant for the wall, not the one that fits the budget. Measure the wall. Account for matting. Match the aspect ratio to the photo, not the other way around. Don't buy past the resolution of the file. And if you're still not sure, look at the spot in the room and ask whether you'd want a window there — because a good print is a window, and a great print is a place you can almost step into.
Bring the trip home
Every photo on York Adventures is shot on location and available as a fine-art print. Browse the gallery to find a frame for your wall.
Stay in the Loop
Get new photos, stories & exclusive deals straight to your inbox.
Related Posts
Travel Photography Starter Pack: Gear I'd Buy on a Real Budget
If I were starting over with $1,500–$2,500, here's the exact kit I'd build — bodies, lenses, tripod, bag, and the boring accessories that actually decide whether you carry the camera.
How to Shoot Golden Hour: A Travel Photographer's Practical Guide
Golden hour isn't really an hour, and most of what you read about shooting it is wrong. Here's how I actually plan, scout, and shoot it on real trips.
Best Travel Cameras for 2026: My Picks From a Year of Real Trips
After 14 trips across five countries with a closet full of cameras, here are the bodies that earned their spot in my carry-on — and the ones that didn't.