How to Shoot Golden Hour: A Travel Photographer's Practical Guide
Reviewed for accuracy on Sep 10, 2025
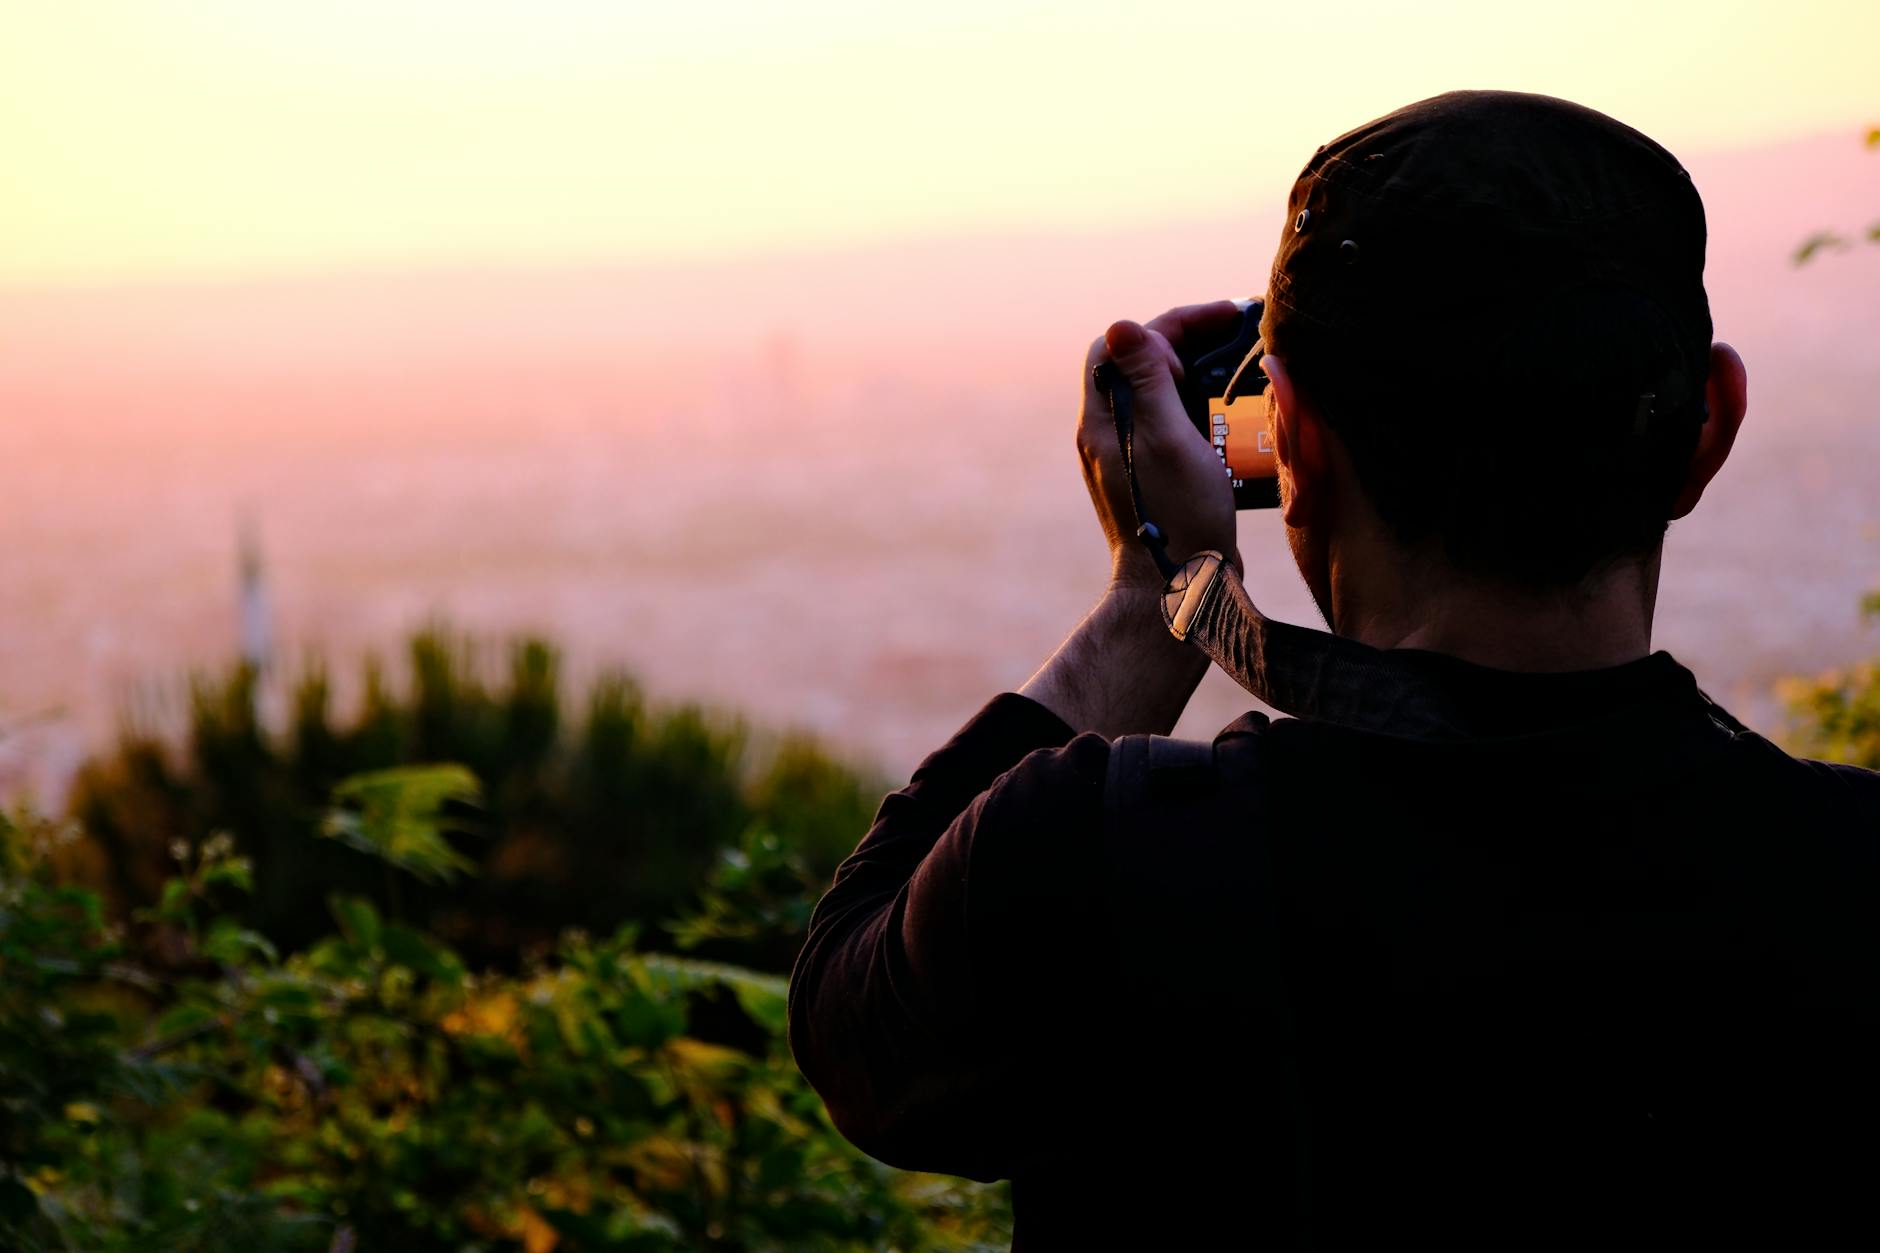
Golden hour is the most overhyped and most under-prepared-for window in travel photography. Everyone talks about chasing it, almost no one plans for it, and the result is a million Instagram shots that all look the same — sun blob in the middle of the frame, blown-out highlights, silhouette of a cliché.
I've shot golden hour in maybe forty countries, and what I've learned is that the soft light is the easy part. The hard part is being in the right place with the right settings before the window closes. This is how I actually do it.
When golden hour actually happens
The phrase is misleading. Golden hour is the time when the sun is between roughly 6 degrees above the horizon and the horizon itself, and the duration depends on your latitude.
- At the equator — Quintana Roo, Bali, Singapore — golden hour is closer to 25 minutes. The sun drops fast.
- At mid-latitudes — Hawaii, Florida, Mediterranean Europe — you get 40 to 55 minutes.
- At high latitudes — Iceland, Patagonia, Norway in summer — golden hour can stretch for hours.
The takeaway: in tropical destinations, you don't have an hour. You have less than half of one. Plan accordingly.
I use the PhotoPills app and the Sun Surveyor app to find the actual start and end times for any given day in any given spot, plus the azimuth — the compass direction the sun will rise or set. This is non-negotiable. Without an azimuth, you don't know which side of the temple the light will hit, and you'll find out the hard way when it's too late to move.
How to scout it
The unsexy answer: scout the day before, in mid-afternoon, when the light isn't precious. Walk the spot, take iPhone reference shots from three or four angles, note the foreground elements, and decide where you'll stand the next morning.
Things I'm specifically looking for:
- A foreground. Empty foregrounds are where bad golden hour photos come from. I want a tide pool, a person, a chair on the sand, a fishing boat — something to anchor the eye that isn't just the sky.
- A backlight angle. I almost always want the sun behind my subject or at a hard 90-degree side angle. Front-lit golden hour is a postcard from 1998.
- Obstructions. Coconut trees, hotel buildings, ridge lines that will eat the sun ten minutes before the actual horizon. The "real" sunset is often above the visible horizon.
- Crowd patterns. If you're shooting somewhere popular like the cenote sinkhole at Xcaret or the Tunnels Beach lookout on Kauai, you need to know the crowd's golden hour pattern as well as the light's. Most cliffs that get crowded for sunset clear out in the 20 minutes after.
Settings I actually use
I'm an aperture priority shooter for 90% of golden hour work. Here's the loop:
- Aperture priority mode (A or Av). Pick f/5.6 to f/8 for landscapes, f/2 to f/2.8 for environmental portraits. Let the camera handle shutter speed.
- Auto ISO with a ceiling. I cap mine at ISO 6400 and let the camera float. Modern sensors handle 6400 fine.
- Exposure compensation: -0.7 to -1.3 EV. This is the part most people miss. The camera meters golden hour as too bright and tries to underexpose the sky, but it also tries to recover the blown-out highlights and ends up muddying everything. Underexposing slightly preserves the highlight roll-off and makes the saturated colors actually saturated.
- Spot or center-weighted metering off the sky, not the subject. If your subject is silhouetted, you want sky exposure to be correct.
- Shoot RAW. Always. Especially in mixed light.
White balance: I leave it on auto for raw work and correct in post. If you're shooting JPEG only, set it to Cloudy (about 6500K) to push the warm tones — Auto WB will try to neutralize them and you'll lose the look.
Composition: backlight vs side-light
These are the two looks that work, and they're not interchangeable.
- Backlight is sun-behind-subject. You get rim light around hair, halos around plants, dust and water spray catching the sun. Best for portraits, beach silhouettes, and anything with translucent edges. Use a deep lens hood and watch for flare ghosts unless you want them. (Sometimes I do.)
- Side-light is sun at 90 degrees to the subject. You get long, dramatic shadows and texture in everything. Best for landscapes, ruins, architecture, faces shot in three-quarter profile. The Mayan ruins at Coba and the Big Island lava fields are made for side-light.
Front-lit golden hour exists, but it flattens everything and is what tourists default to without realizing. If the sun is behind you and lighting your subject from the front, walk around to the other side and shoot back into the sun.
Subjects that work best
In rough order of how reliably they reward golden hour:
- Ruins, temples, and old architecture. The texture explodes under raking light. The cenote complex at Xcaret, the temple at Coba, and the cliffside heiau on the Big Island all photograph completely differently at 6 PM than at noon.
- Beaches. Wet sand reflects color. Tide pools become mirrors. Footprints leave shadow lines that disappear by midday.
- Skylines. Cities photograph beautifully in the 15 minutes immediately after sunset, when the sky is still bright but the buildings have lights on. This is "blue hour" technically — and it's where most travel photographers stop too early.
- Faces and portraits. Soft, warm, flattering. Position your subject so the sun is behind them and a touch off-center. Use a small reflector or a white wall for fill if the contrast is too high.
- Animals and wildlife. Birds at the flamingo lagoon. Sea turtles on the Hawaii reefs. The light makes them look mythological.
I've written more about specific spots in my Xcaret photo locations guide and my Hawaii sunrise spots guide. Both of those are golden hour playbooks for specific destinations.
A note on patience: the best frame of a golden hour session usually comes 8 to 12 minutes after most photographers pack up. Stay until the color is gone, then stay 5 minutes longer.
Gear that actually matters
Less than you'd think. The body and lens you have already work. What I bring to a planned golden hour shoot:
- A weather-sealed body. Salt spray, dew, blowing sand.
- A fast prime in the 35mm or 50mm range for low-light flexibility.
- A circular polarizer — but be careful with it during golden hour. Polarizers cut reflections, and you sometimes want those reflections.
- A neutral density filter if you want to shoot wide open or do long-exposure water blurs.
- A small tripod. Peak Design Travel Tripod or a Manfrotto Befree. Not negotiable for blue hour landscapes.
- A microfiber cloth. Sea spray on the front element ruins more shots than any setting will fix.
For my full kit, I cover it in my travel photography starter pack, and if you're picking a body to start with, my best travel cameras guide walks through the options.
What I'd do differently
If I could give my younger self one piece of advice, it's this: stop chasing sunsets and start showing up early to specific places I've already scouted. The sunset will happen. The question is whether you're ready for it. The first hundred golden hours I shot, I was running. Now I get there forty minutes early, sit down, drink water, and watch the light walk across the foreground until it's where I want it.
That's the whole craft. The camera does the rest.
Final thoughts
Golden hour is a 25-minute window that the rest of the day is preparation for. Plan it like a meeting. Show up early. Stay late. Underexpose by a stop. Look for the foreground. The "magic light" stops being magic the moment you treat it like math, and the photos get better the moment you stop trying to make them look like everyone else's.
Bring the trip home
Every photo on York Adventures is shot on location and available as a fine-art print. Browse the gallery to find a frame for your wall.
Stay in the Loop
Get new photos, stories & exclusive deals straight to your inbox.
Related Posts
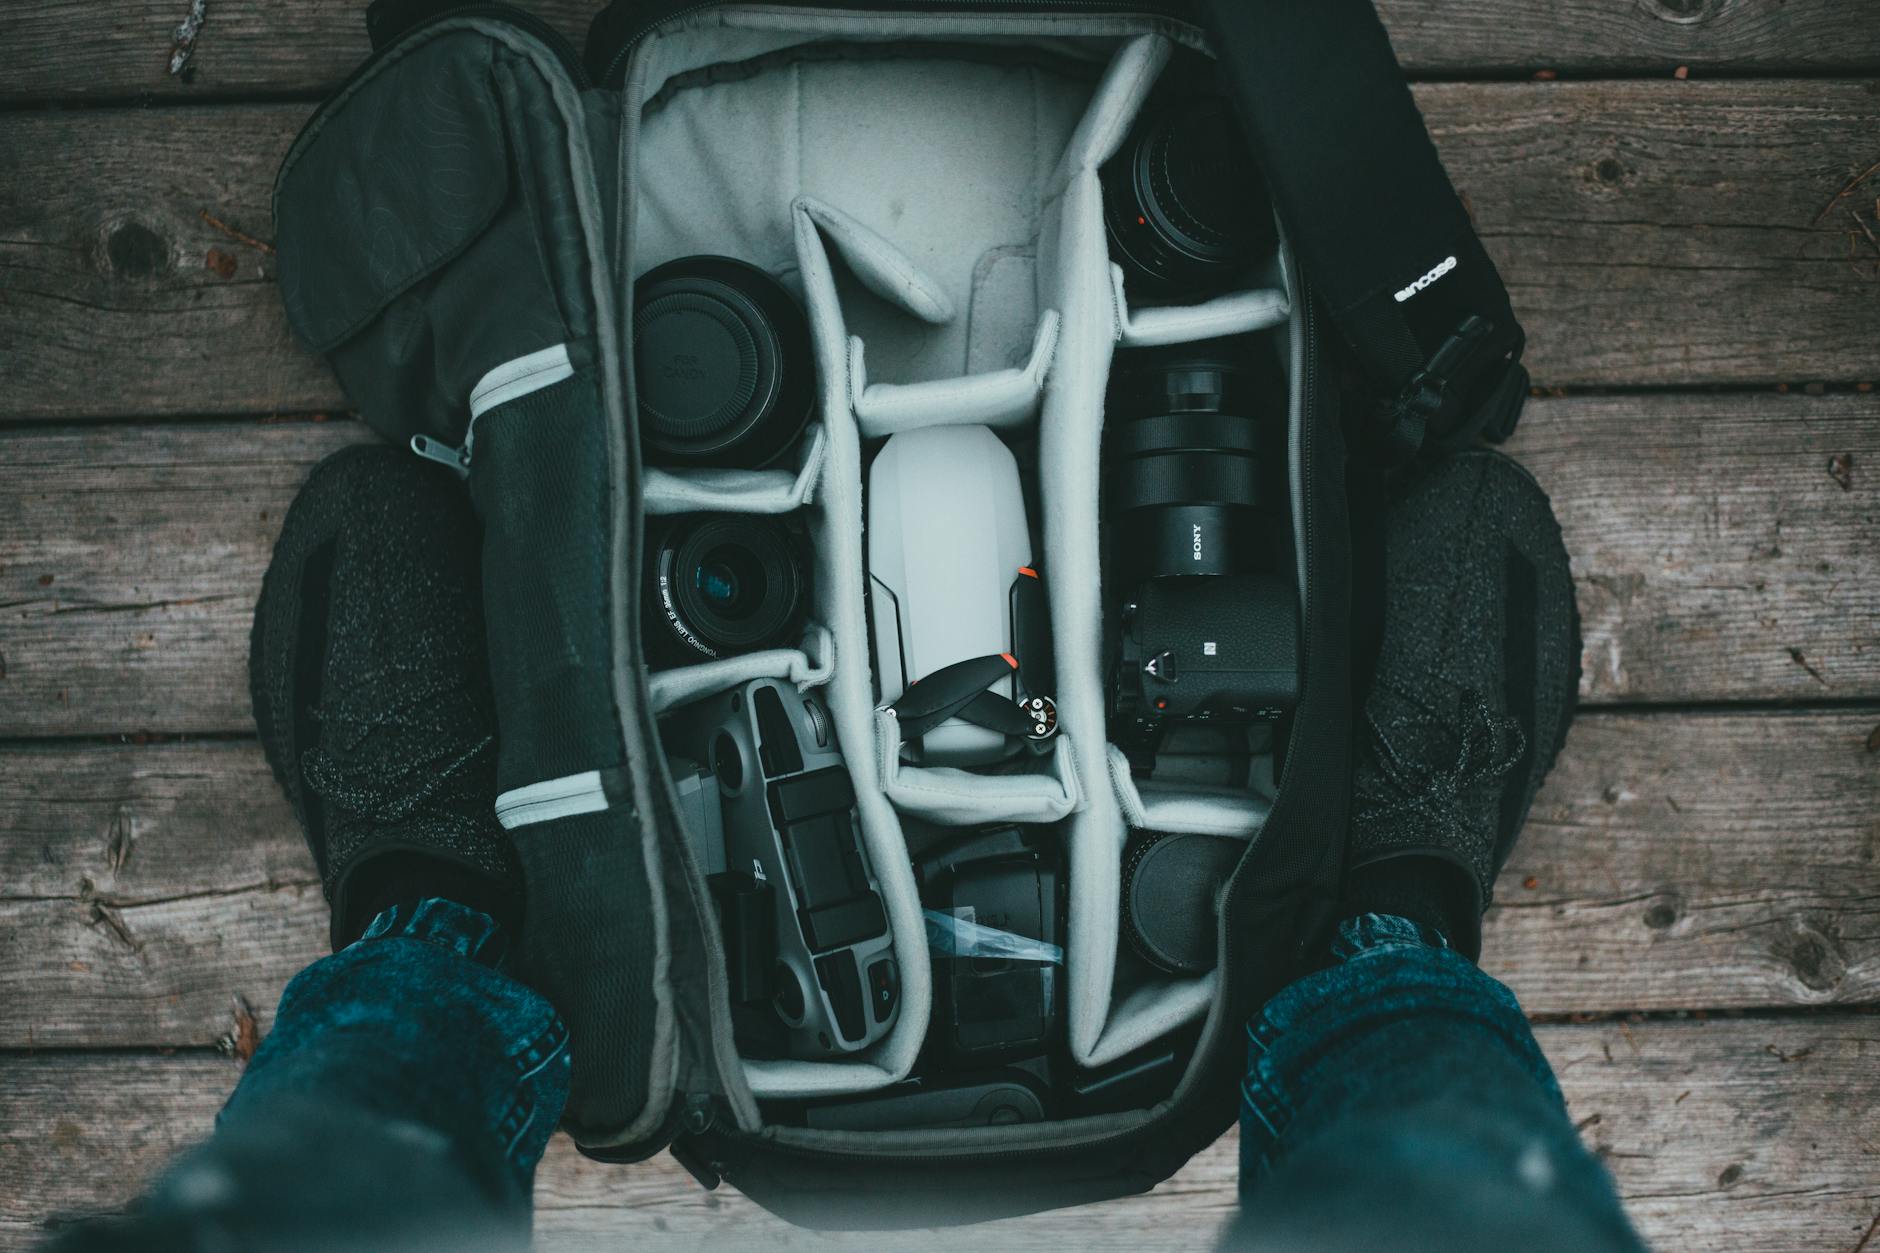
Travel Photography Starter Pack: Gear I'd Buy on a Real Budget
If I were starting over with $1,500–$2,500, here's the exact kit I'd build — bodies, lenses, tripod, bag, and the boring accessories that actually decide whether you carry the camera.
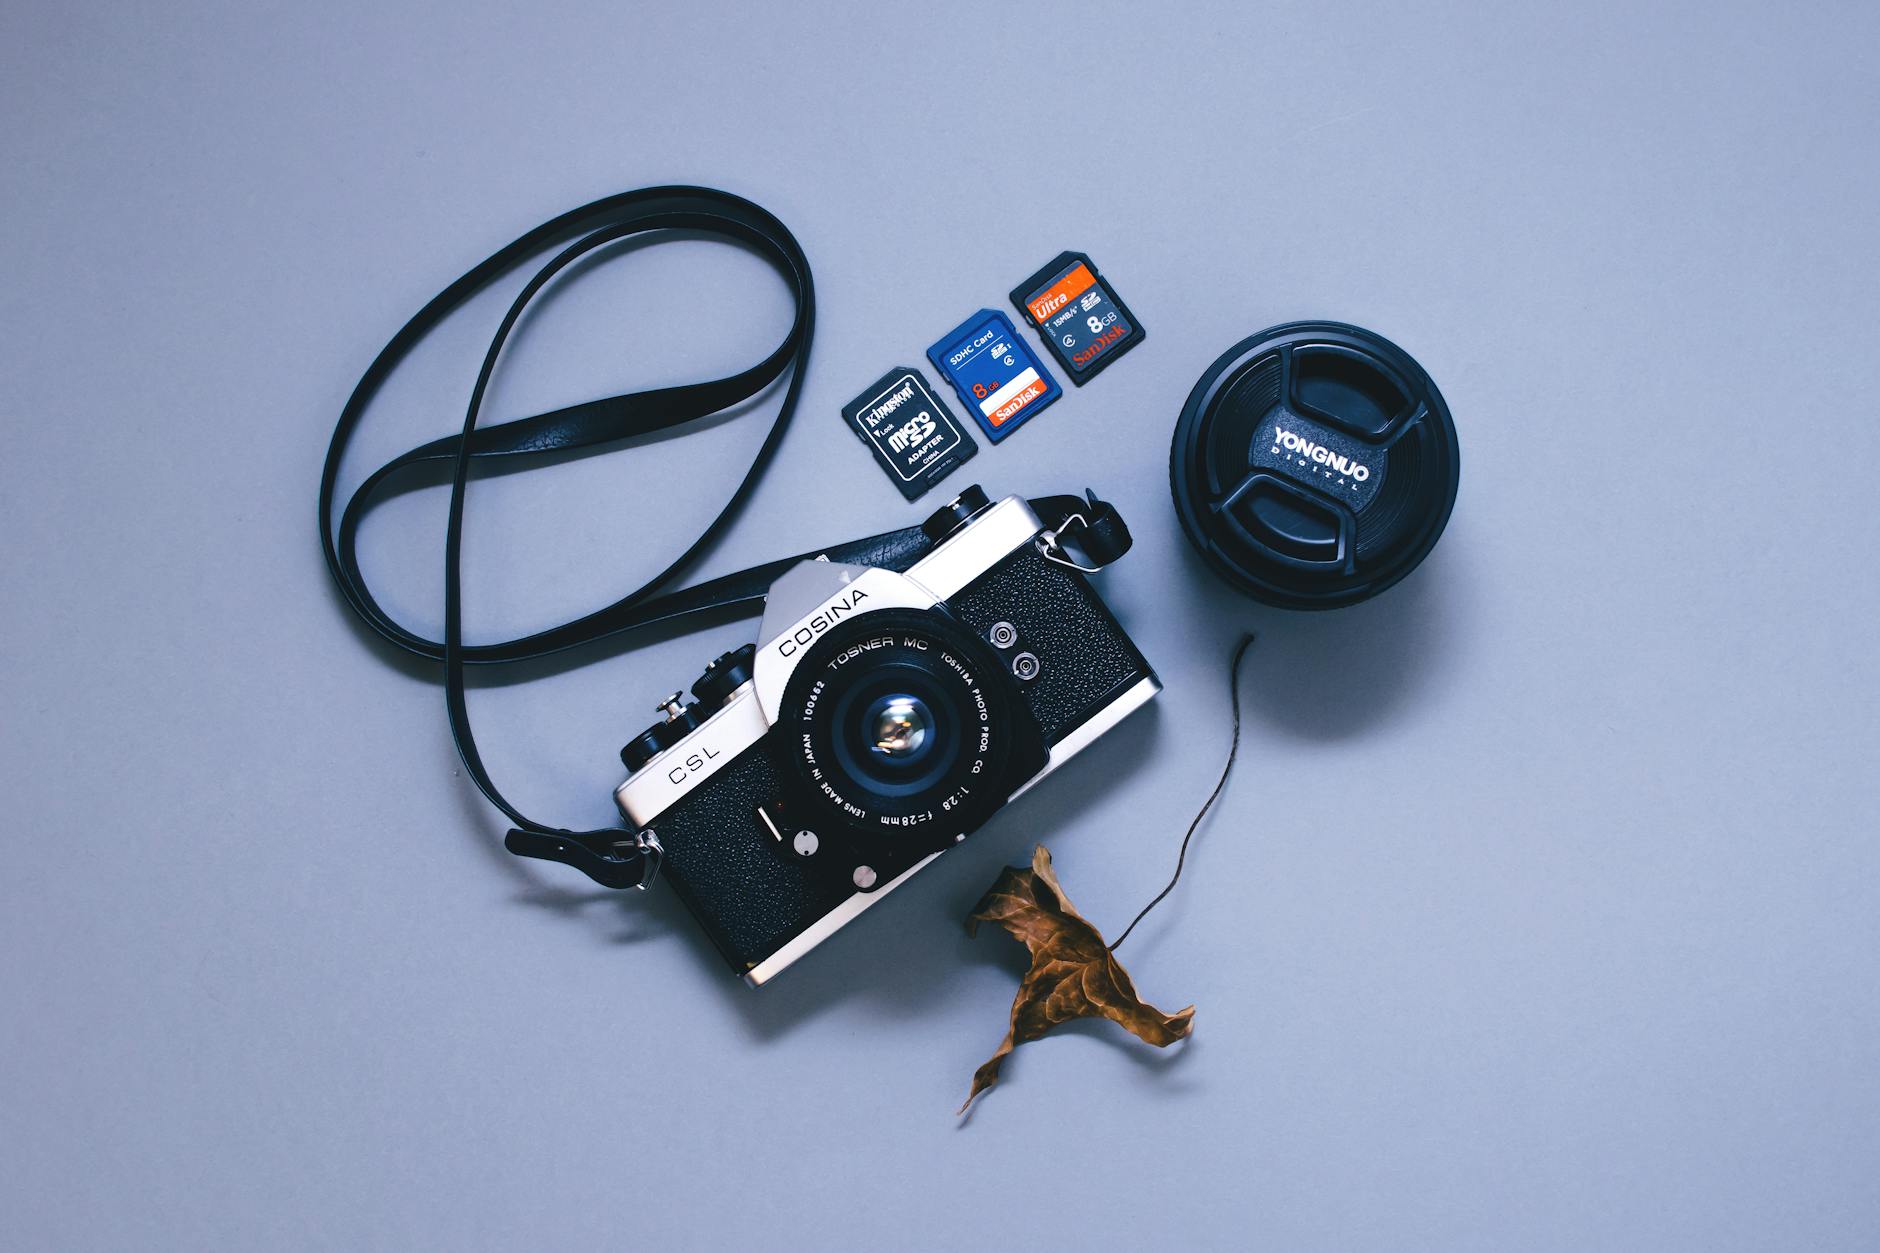
Best Travel Cameras for 2026: My Picks From a Year of Real Trips
After 14 trips across five countries with a closet full of cameras, here are the bodies that earned their spot in my carry-on — and the ones that didn't.
Buying Travel Photo Prints: A Sizing Guide That Saves You Money
How to pick the right print size for the wall you actually have, what aspect ratios actually work for travel photos, and the DPI trap that costs people money.