Travel Photography Starter Pack: Gear I'd Buy on a Real Budget
Reviewed for accuracy on Dec 12, 2025
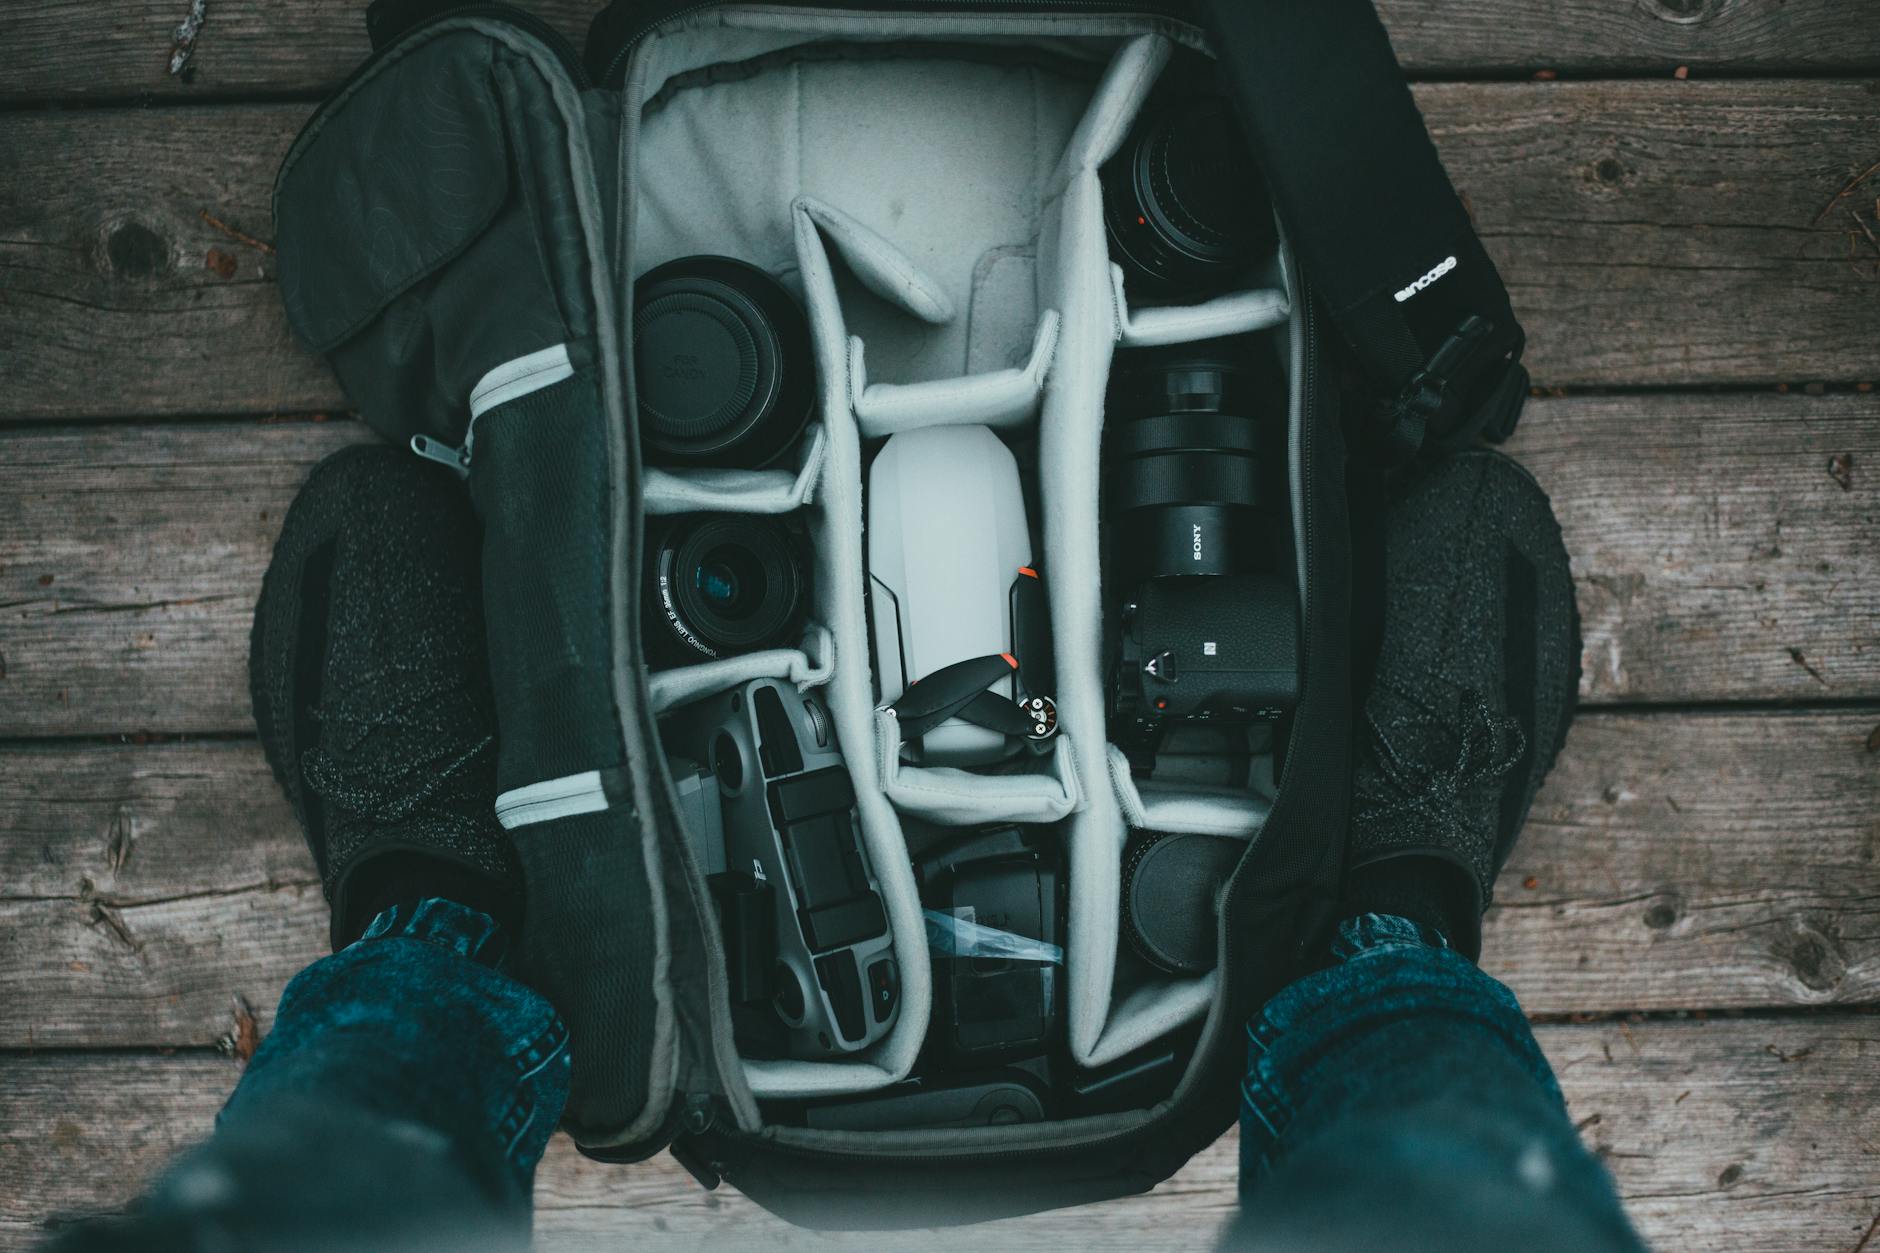
The hardest part of buying your first travel camera isn't the camera. It's everything around it — the bag that doesn't kill your back, the tripod that fits in a carry-on, the SD card that doesn't lose your trip, the filter that lives on the front of the lens forever. Most starter pack articles ignore this stuff and tell you to spend everything on the body. That's how you end up with a $2,500 camera and a $30 backpack with broken zippers in week three.
I've been through enough loadouts that I have strong opinions. Here's the kit I'd build today on a real budget, with the trade-offs honest.
How to think about the budget
There's a temptation to buy the most camera you can afford and skimp on everything else. That's backwards. A reasonable rule:
- 50% on body + lenses
- 20% on the bag and tripod
- 15% on memory, batteries, and filters
- 15% reserved for the second-trip upgrades you don't know you need yet
For a $2,000 budget, that's roughly $1,000 on body and glass, $400 on bag and tripod, $300 on accessories, $300 in reserve. The $1,500 version compresses everything; the $2,500 version gives you a real second lens.
The body: pick one and stop researching
Three bodies I'd recommend without hesitation, in increasing price:
- Fujifilm X-T30 II (around $900 body-only, often $1,100 with a kit zoom). APS-C, dial-driven, and shoots the same film simulations as the flagship X-T5. It's what I'd buy at the bottom of the budget.
- Sony A6700 (around $1,400 body). The autofocus and eye-tracking that filtered down from the A7IV. Good lens ecosystem if you ever want to go full-frame later.
- Fujifilm X-T5 (around $1,700 body). 40 megapixels of APS-C and the dial layout that makes you a better photographer. If you can stretch to it, do.
I've covered the full body landscape in my best travel cameras guide, but if you're choosing for a starter pack, the X-T30 II is the value pick and the X-T5 is the don't-regret-it pick.
Skip the kit zoom that comes with the body. They're optically average and you'll replace them within six months.
Lenses: one prime, one zoom
This is the rule I wish someone had told me at the start. A starter kit needs exactly two lenses, and one of them should be a prime.
- The zoom: 16-55 f/2.8 (Fuji) or 16-50 f/2.8 G (Sony APS-C). Constant aperture, weather-sealed, sharp from corner to corner. This is your default lens. Mine lives on the body 70% of the time.
- The prime: 23mm f/1.4 (Fuji), 33mm f/1.4 (Fuji), or Sigma 30mm f/1.4 DC DN (Sony). Faster, lighter, sharper, and the lens that teaches you composition. Pick a focal length that matches how you naturally see — 23mm (35mm equivalent) is wider, 33mm (50mm equivalent) is normal.
Avoid the cheap superzoom (18-200 type lenses) for two reasons: they're optically soft, and they remove the constraint that makes you compose better. A long zoom turns photographers lazy. I learned this the hard way.
If your budget is tight, buy the prime first and a kit zoom second. A f/1.4 prime makes a $900 body shoot like a $2,000 body in low light.
Tripod: don't cheap out, don't over-buy
There are two tripods I'd recommend for travel:
- Peak Design Travel Tripod (Aluminum) — around $380. The carbon version is $650 and not worth it for most travelers. The aluminum version folds to the size of a water bottle, holds up to a full-frame body with a 70-200, and the design is genuinely brilliant. Mine has been to a dozen countries.
- Manfrotto Befree Advanced — around $200. The honest budget pick. Heavier than the Peak Design, less elegant, but bulletproof. If you're not sure you'll use a tripod often, start here.
Avoid Amazon-brand $50 tripods. They wobble in any wind, the legs collapse, and you'll waste half your sunset adjusting them. A good tripod is the rare piece of camera gear that lasts decades.
Backpack: where most people screw up
A camera bag has to do three things: protect the gear, fit in an airline overhead bin, and not announce itself as a camera bag. The two backpacks I rotate between:
- Peak Design Everyday Backpack 20L V2 — around $260. The configurable dividers, the side access, and the magnetic latching are best-in-class. The downside is that it's instantly recognizable as a camera bag, so if you're traveling somewhere theft is a concern, this is not the bag.
- WANDRD PRVKE 21L — around $230. Looks like a regular adventure backpack from the outside, has a real camera cube on the inside, and the roll-top expands when you need to carry a sweater. My pick for international travel.
A $50 backpack with a foam insert is fine for car trips and bad for everything else. The bag is the piece of gear that gets used every single hour you're traveling — pay for it once.
Memory cards: SD V60 vs V90
You want at least two cards. Buying one giant card is a single point of failure for an entire trip. I rotate two 128GB cards instead.
- V60 cards (60 MB/s sustained write) are fine for most photography and 4K video at standard bitrates. Cheaper, plenty fast.
- V90 cards (90 MB/s sustained write) are required for high-bitrate 4K video and high-speed burst photography on flagship bodies.
For a starter kit, two SanDisk Extreme Pro V60 128GB cards is the right call — about $80 total. Avoid no-name brands. Lost data is the most expensive line item that exists.
Batteries: bring three
Two is what the manual recommends. Three is what reality requires. Mirrorless cameras eat batteries, especially in cold weather and especially when shooting video. I keep one in the camera, one in the bag, and one charging at the hotel.
OEM batteries are noticeably better than third-party for most systems. Pay the premium.
Filters: polarizer, ND, and nothing else
Two filters earn their spot. Skip the rest.
- Circular polarizer (CPL). Cuts reflections, deepens skies, makes water transparent. The single most useful filter you can own for travel. Buy one for each lens diameter you use, or buy a step-up ring set and one large filter.
- Variable ND filter. Lets you shoot wide-open in bright light and do long exposures of moving water. The Hoya Variable Density II is the budget pick; the K&F Concept Nano-X is what I use now.
Avoid "UV filter for protection" — it's a marketing scheme, and a cheap UV filter degrades image quality more than it protects. The lens hood does the protection job.
Putting it together: three sample kits
A note on bodies and used gear: every body I've recommended here is fine to buy used from KEH or MPB. The 30% savings on a body buys you the lens you actually want.
The $1,500 starter:
- Fujifilm X-T30 II body — $900
- Fujifilm 23mm f/1.4 used — $400
- Manfrotto Befree Advanced — $200
That kit is enough to take real photos in real conditions. You'll add a zoom later when you know what you actually shoot.
The $2,000 balanced kit:
- Fujifilm X-T5 body — $1,700 (or X-T30 II + better lenses)
- Plus 33mm f/1.4 used — $500
- Plus Peak Design Travel Tripod aluminum — $380 (mix used and new)
The $2,500 stretch kit:
- Fujifilm X-T5 — $1,700
- Fuji 16-55 f/2.8 used — $700
- Peak Design Everyday Backpack 20L — $260
- Two SD cards, three batteries, polarizer — about $200
That last kit will cover real travel photography for years.
What I'd do differently
If I could give one piece of advice to past me: spend less on the body and more on the lens, the bag, and the tripod. The marginal photo improvement from a $1,700 body over a $900 body is small. The marginal improvement from a $400 lens over a $200 lens is huge. And the marginal improvement from a bag you actually want to carry, over one you grudgingly tolerate, is the entire trip.
Once the kit is sorted, the next thing to actually learn is light. I cover that in my golden hour photography guide, and once you start making photos worth printing, my print sizing guide walks through what to do with them.
Final thoughts
Don't keep researching. The kit above will work for any trip you're realistically going to take in the next two years. Buy it, take it on a real trip, and let the photos tell you what's missing. Your second purchase will be smarter than your first one was ever going to be.
Bring the trip home
Every photo on York Adventures is shot on location and available as a fine-art print. Browse the gallery to find a frame for your wall.
Stay in the Loop
Get new photos, stories & exclusive deals straight to your inbox.
Related Posts
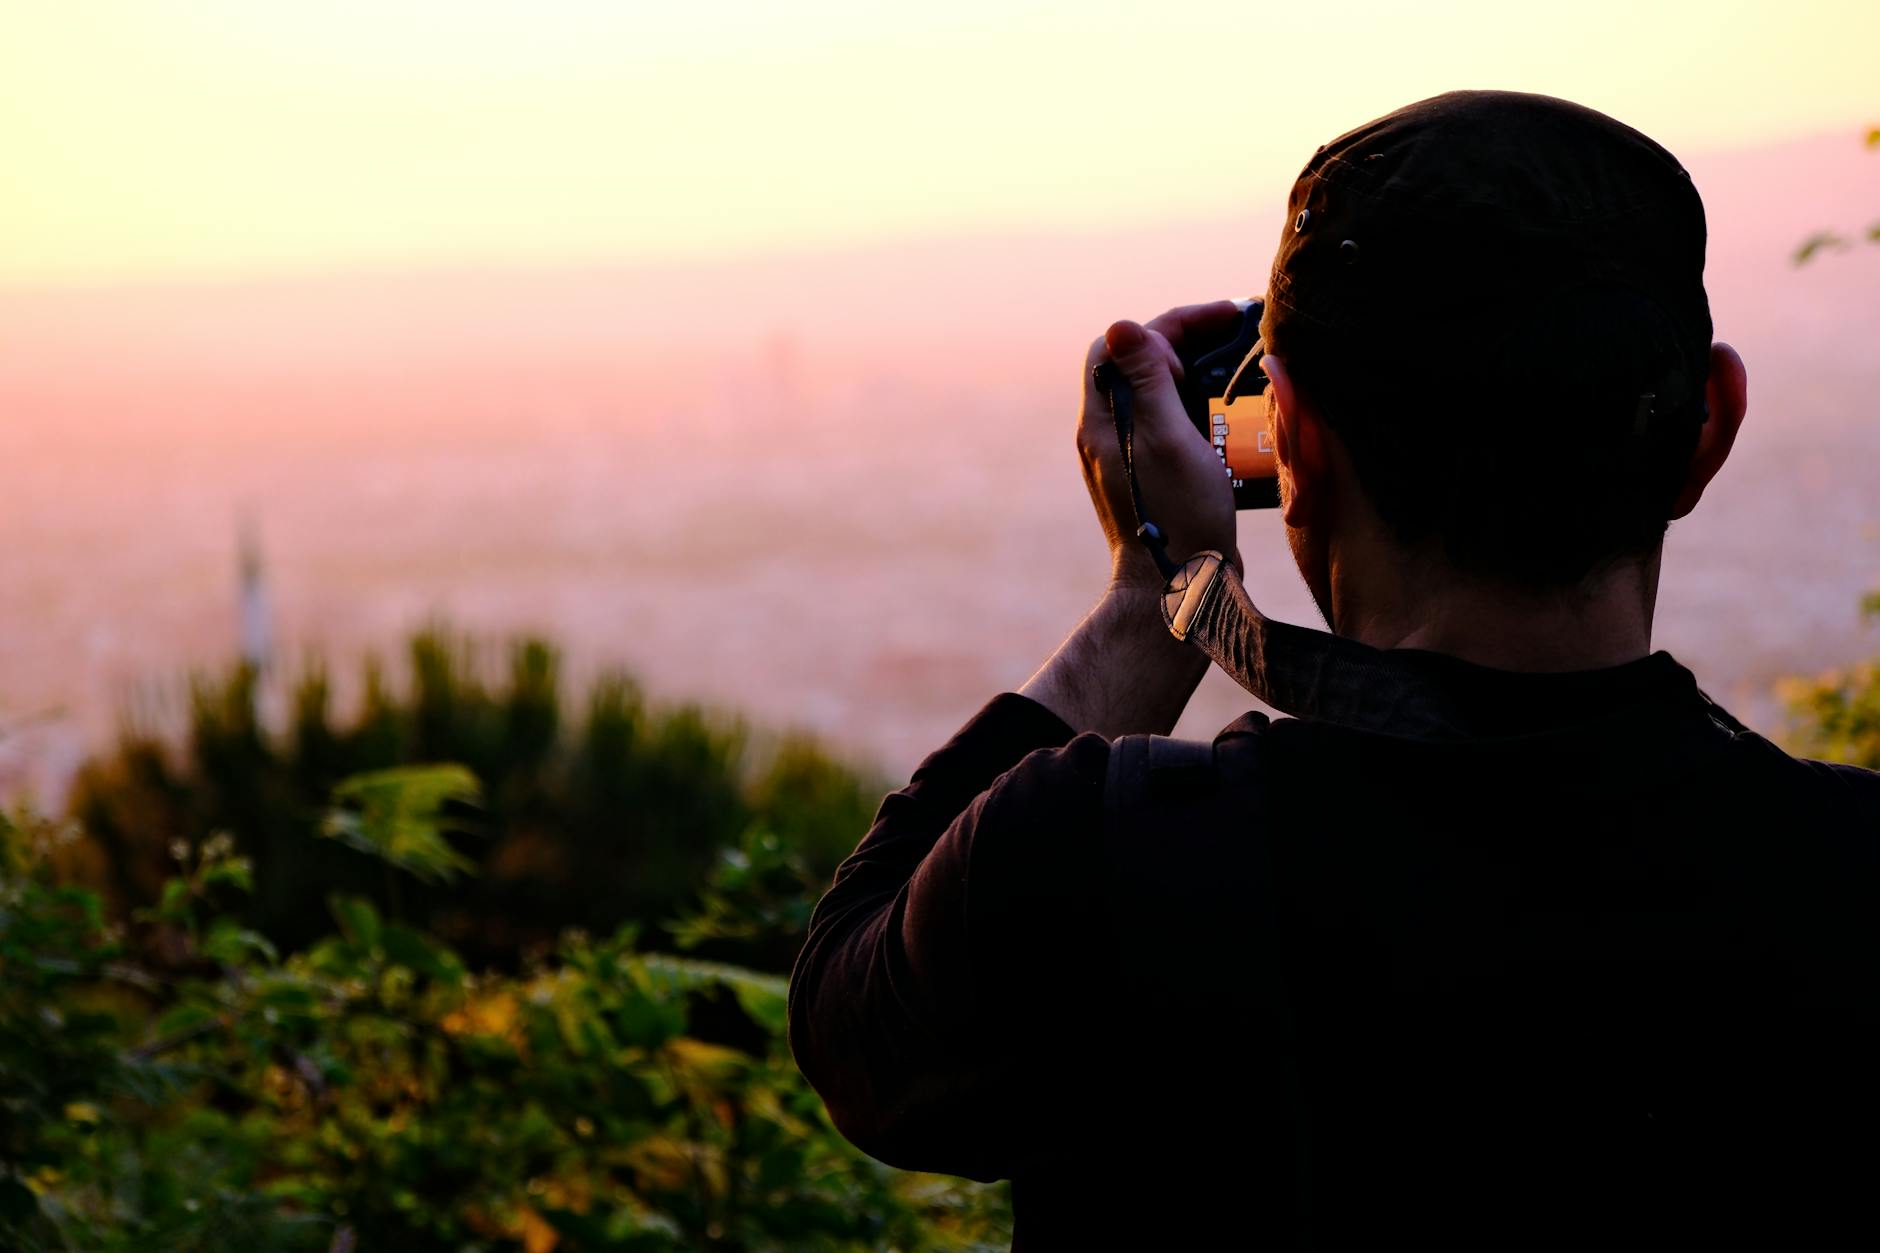
How to Shoot Golden Hour: A Travel Photographer's Practical Guide
Golden hour isn't really an hour, and most of what you read about shooting it is wrong. Here's how I actually plan, scout, and shoot it on real trips.
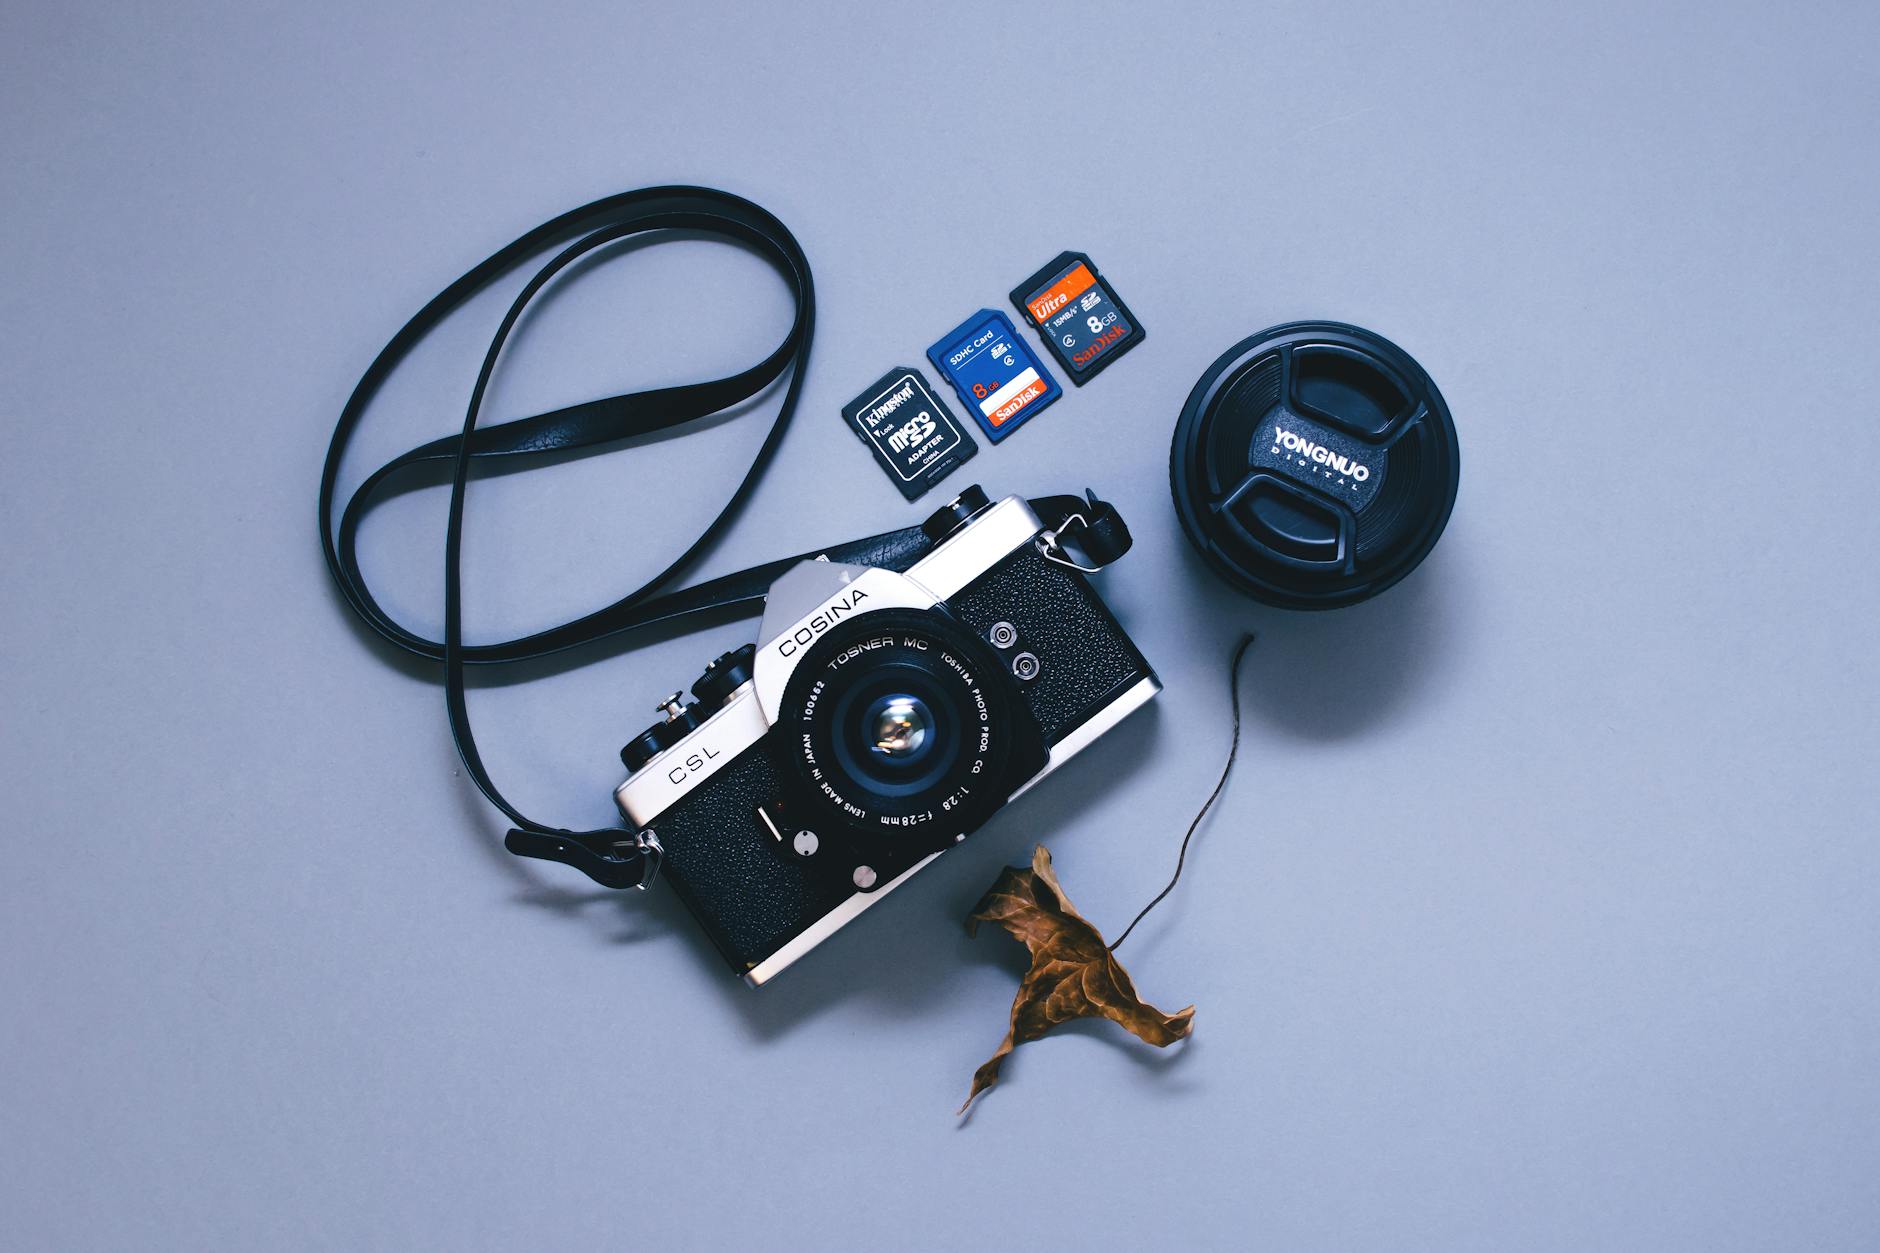
Best Travel Cameras for 2026: My Picks From a Year of Real Trips
After 14 trips across five countries with a closet full of cameras, here are the bodies that earned their spot in my carry-on — and the ones that didn't.
Buying Travel Photo Prints: A Sizing Guide That Saves You Money
How to pick the right print size for the wall you actually have, what aspect ratios actually work for travel photos, and the DPI trap that costs people money.