Mauna Kea Astrophotography: Shooting the Milky Way in Hawaii
Reviewed for accuracy on Jun 22, 2026
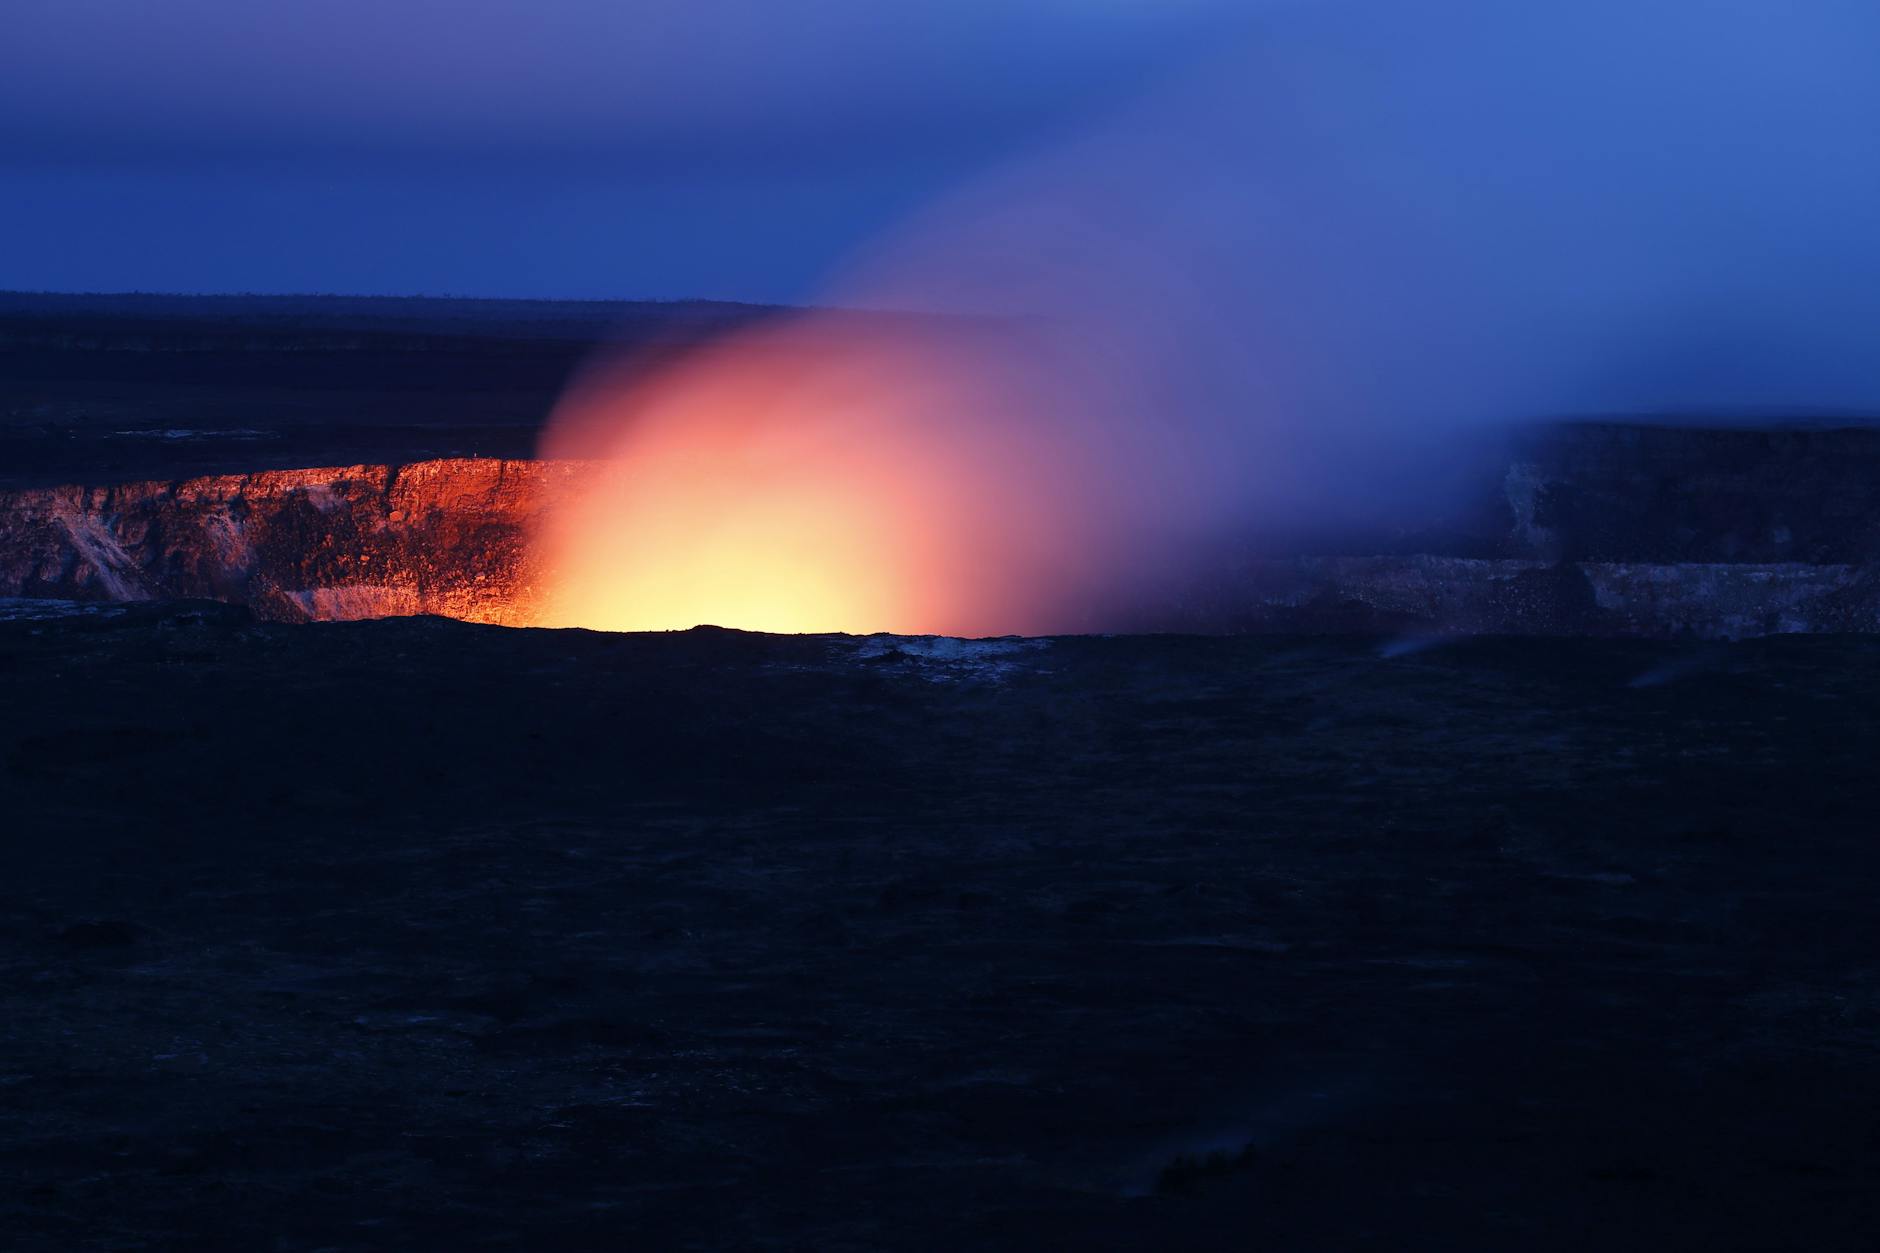
Mauna Kea is, by a lot of measures, the best place in the United States to photograph the night sky. The summit sits at nearly 13,800 feet — above roughly 40% of the atmosphere and most of the water vapor — under skies so dark and stable that the world's major observatories chose it. For the Milky Way, it's close to ideal.
It's also the Hawaii location where the difference between "amazing trip" and "medical emergency" comes down to respecting the rules. So this guide is half technique, half safety, and I won't apologize for the safety half — altitude on Mauna Kea is not a formality.
Where to actually shoot
There's a crucial distinction most guides gloss over: summit versus Visitor Information Station (VIS).
- The summit (~13,800 ft) has the most stunning skies, but the altitude is genuinely dangerous for unacclimatized visitors, the access road requires 4WD, and night access is discouraged and sometimes restricted for cultural and safety reasons.
- The Visitor Information Station (~9,200 ft) is reachable by a normal car, still has phenomenal dark skies, and is where the large majority of astrophotographers — including me — actually set up. The air is thin but manageable, and you're away from the summit's telescope-dome lights and traffic.
Tip: Treat the VIS as your default. The marginal sky improvement at the summit is rarely worth the altitude risk, the 4WD requirement, and the access uncertainty — especially when you're concentrating on focus and exposure in the cold and dark.
For how Mauna Kea fits into a wider Big Island shoot, see the Big Island photography guide.
When to go
Two timing factors matter most:
- Milky Way (galactic core) season: Roughly April through October in the Northern Hemisphere, the bright core is visible. It rises in the southeast; peak overhead position shifts later in the night earlier in the season.
- The moon: Shoot within a few days of new moon. A bright moon washes out the core completely. Check a moon-phase calendar and a Milky Way planner app before you commit a night.
Clear nights are common but not guaranteed — clouds can sit at the VIS elevation while the summit is clear, or vice versa. Build in a backup night if you can.
Camera settings
Dial these in before you arrive, because you'll be doing it by red headlamp in the cold:
- Lens: Fast and wide — 14–24mm at f/2.8 or wider. The wider and faster, the more light and the less star trailing.
- ISO: 3200–6400 to start. Modern full-frame bodies handle this cleanly; review and adjust.
- Shutter: ~15–20 seconds. Use the "500 rule" (500 ÷ focal length = max seconds before trailing) or the stricter NPF rule for pinpoint stars.
- Focus: Manual, to infinity. Use live-view, zoom in on the brightest star, and nail focus. Tape the focus ring so it doesn't drift in the cold.
- File: RAW, always. You'll recover enormous detail in post.
- Stability: Sturdy tripod, 2-second timer or remote release, image stabilization off.
| Setting | Starting point | Note |
|---|---|---|
| Aperture | f/2.8 or wider | Maximize light |
| ISO | 3200–6400 | Adjust to noise tolerance |
| Shutter | 15–20 sec | Use 500/NPF rule |
| Focus | Manual ∞ | Confirm on a bright star |
| White balance | ~3900–4200K | Fine-tune in RAW |
Composition: give the sky a foreground
A bare Milky Way is impressive once; a Milky Way arching over a recognizable foreground is a keeper. On Mauna Kea, the silhouettes of the cinder cones, the observatory domes catching last light, or a lone figure with a headlamp all anchor the frame. Shoot a separate, longer/lower-ISO exposure for the foreground and blend if needed.
For light-reading fundamentals that transfer to night work, the golden hour photography guide and the broader best Hawaii sunset spots guide help you understand the blue-hour-to-dark transition you'll be working through.
Stacking, panoramas, and post-processing
Single Milky Way frames are good; a little extra technique makes them great:
- Image stacking for noise: shoot a series of identical sky frames and average them in software (Sequator, Starry Landscape Stacker) to dramatically cut noise while keeping the stars sharp. This lets you pull cleaner results at high ISO than any single frame.
- Panoramas: the galactic core arches across a huge swath of sky. A row of overlapping frames stitched together captures the full arch over the landscape — shoot in portrait orientation with ~30% overlap.
- Blue-hour blending: capture your foreground during the last light of dusk (lower ISO, longer exposure, sharp detail) and blend it with the deep-night sky shot for a clean, noise-free base.
- In RAW post: lift shadows gently, set white balance around 3,900–4,200K, and use careful contrast and dehaze to bring the core forward without crushing the stars or introducing color banding.
A realistic night timeline
Here's how a Mauna Kea astro night actually runs for me, so you can plan it:
- Late afternoon: Drive up, stop at the VIS, eat, hydrate, and start acclimatizing.
- Sunset: Shoot the foreground in good light and scout compositions while you can still see.
- Acclimatize and wait: Layer up as it drops toward freezing; let your eyes and body adjust to the altitude and the dark (30+ minutes).
- Astronomical twilight ends: True darkness arrives — start the Milky Way frames.
- Core position: Track when the galactic core is best placed for your composition using a planner app; that's your prime window.
- Descend carefully: Use low gear, watch for nene (geese) and other drivers, and don't rush the dark road down.
Tip: Scout and lock your foreground composition during daylight, then mark your tripod position. Re-framing in the freezing dark while fighting altitude is how people waste their best hours and come home with crooked horizons.
Gear and clothing
The cold is the part people underestimate. It can drop near or below freezing at the VIS at night, year-round, with wind.
- Warm layers, hat, gloves — far more than you think you need at sea level that afternoon.
- Red headlamp to protect night vision and not ruin others' exposures.
- Spare batteries kept warm in an inside pocket — cold murders battery life.
- Lens warmer / hand warmers rubber-banded to the lens to prevent dew/frost on the front element.
Our travel photography gear starter pack and best travel cameras for 2026 cover bodies and lenses that handle high ISO well, which matters more here than almost anywhere.
Safety: read this part twice
- Acclimatize. Stop at the VIS for at least 30 minutes before any higher elevation. Never drive to the summit straight from sea level.
- Know the symptoms of altitude sickness — headache, nausea, dizziness — and descend immediately if they appear.
- Don't dive or fly within 24 hours before going up.
- Check current access rules before you go; conditions and cultural-respect protocols change.
- Drive carefully down. Brakes overheat on the descent; use low gear.
Alternatives if Mauna Kea isn't an option
If the access road is closed, you're not comfortable with the altitude, or you're on another island, Hawaii still has excellent dark skies. On the Big Island, Hawaii Volcanoes National Park offers very dark skies (and the bonus of crater glow when Kilauea is active — see the Big Island photography guide). On Maui, the Haleakala summit has superb astro conditions, though you'll need to manage the same cold and altitude. Even a remote west-end beach far from town lights can yield a respectable Milky Way on a new-moon night.
Mauna Kea is a place to be humble — about the altitude, about the road, and about the cultural significance of the mountain to Native Hawaiians. Shoot respectfully, leave no trace, and you'll come away with frames that genuinely rival anything in the dark-sky world. If you'd rather own a finished Milky Way frame than fight the cold for one, a few are available as prints and across the full gallery, and you can see the rest of our island work on the Hawaii destination hub.
Bring the trip home
Every photo on York Adventures is shot on location and available as a fine-art print. Browse the gallery to find a frame for your wall.
Stay in the Loop
Get new photos, stories & exclusive deals straight to your inbox.
Related Posts
Big Island Photography: Volcanoes, Black Sand & Star Fields
The Big Island has the most extreme range of any Hawaiian island — active lava glow, black and green sand beaches, and some of the darkest skies on earth. Here's how to shoot all of it.
Hawaii Waterfall Photography: Where to Shoot and How
Hawaii's waterfalls are deceptively hard to photograph well — spray, contrast, and crowds all conspire. Here's where to find the best falls and the exact settings I use to shoot them.
Nā Pali Coast Guide: Boat, Hike & Helicopter
Three ways to experience Kauai's Nā Pali Coast — by boat, on the Kalalau Trail, or from a doors-off helicopter — compared honestly, with permits, seasons, and photo notes for each.