Hawaii Waterfall Photography: Where to Shoot and How
Reviewed for accuracy on Jun 20, 2026
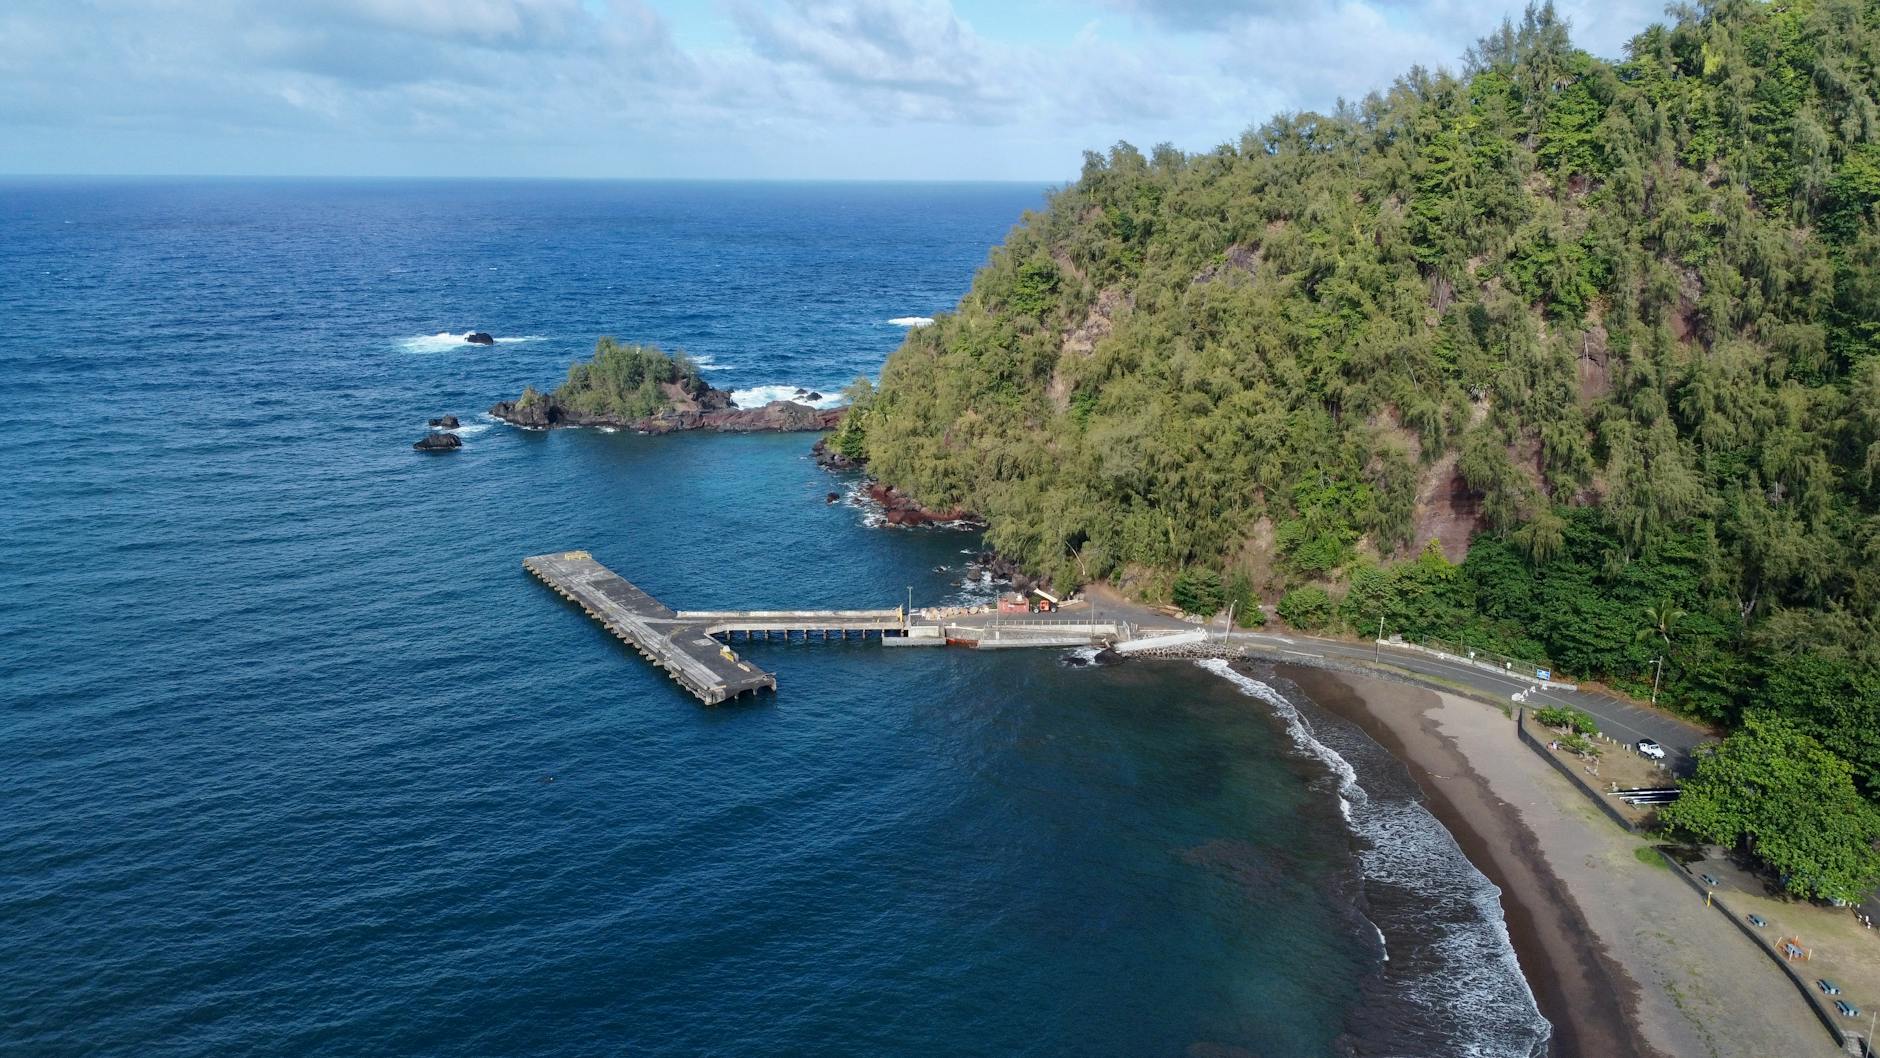
Waterfalls look like the easy win of Hawaii photography. You walk up, the water's falling, you press the button. Then you get home and the shots are a mess — blown-out white water, muddy green shadows, glare bouncing off every wet leaf. I've made all of those mistakes, and the fix is mostly about light, filters, and a couple of settings you can lock in before you ever leave the rental car.
This guide covers both halves of the problem: where the best falls are on each island, and how to actually shoot them.
Where the waterfalls are
Hawaii's waterfalls live on the wet, windward (usually east and north) sides of the islands, where the trade winds dump rain. Knowing that, you can plan.
Maui — the Hana road
The east side of Maui is the most accessible waterfall country in the state. The drive past Hana toward the bamboo forest strings together falls, pools, and jungle. Wailua Falls (roadside, photogenic, often with a rainbow in morning light) and the Pipiwai Trail through the bamboo are highlights. For a stop-by-stop plan, our Road to Hana stops review is the companion piece, and the best Maui photography spots guide puts the falls in the context of a full island.
Big Island — the Hilo side
The wet eastern side around Hilo has the easiest big falls in Hawaii. Rainbow Falls is a five-minute walk from the parking lot and produces its namesake rainbow in morning mist. Akaka Falls drops more than 400 feet at the end of a short paved loop. Both reward overcast mornings. More in the Big Island photography guide.
Kauai — the wettest island
Kauai's interior is essentially a waterfall factory — Mount Wai'ale'ale is one of the rainiest spots on earth. Much of it is only reachable by helicopter (the Kauai photography guide covers that), but Wailua Falls (the twin-drop fall you may recognize from old TV intros) is roadside and easy.
Oahu
Drier overall, but the windward side and the Manoa Falls trail near Honolulu offer accessible rainforest falls. Trails get muddy — wear grippy shoes.
How to shoot them: the technique
Light first
The single biggest factor is soft, even light. Direct sun on white water creates impossible contrast — the water blows out while the shaded jungle goes black. So:
- Shoot on overcast days or in early morning before the sun crests the valley walls.
- A light drizzle is often perfect. Bring a rain cover and a microfiber cloth.
Tip: Go a day or two after rain, not during it. The falls run fuller and the light has usually softened — but never enter a streambed if there's rain upstream. Flash floods in Hawaiian valleys kill people every few years.
Settings for silky water
The classic dreamy look comes from a slow shutter:
- Tripod — non-negotiable for long exposures.
- ISO 100, aperture f/8–f/13 for sharpness and depth.
- Shutter 1/4 to 2 seconds. In daylight you'll need a neutral density (ND) filter (a 6-stop is my default) to get there without overexposing.
- Circular polarizer to cut glare off wet rocks and leaves and deepen the greens — bonus, it eats 1–2 stops, helping slow the shutter further.
For a crisp, textured look instead, flip to 1/500 or faster and freeze the droplets.
Composition
- Use the stream as a leading line into the frame.
- Include scale — a person, a rock, the surrounding jungle — so the fall reads big.
- Get low for foreground rocks and reflections in the pool.
- Watch the edges for stray bright sky poking through the canopy; it'll pull the eye.
Beyond the obvious wide shot
Once you've got the classic full-fall frame, work the details — they often make stronger images:
- Tighter crops of a single cascade or a ribbon of water against dark rock isolate the motion.
- Long lens compression from across the pool stacks layers of jungle and water.
- The plunge pool and runoff below the fall, with mossy boulders and reflections, can be more interesting than the drop itself.
- People for scale, placed small in the frame and ideally in a bright jacket, give the viewer a sense of the size.
A typical Hawaii waterfall shooting sequence
Here's the routine I run at almost every fall, which keeps me from forgetting a step in the rush:
- Scout and frame before touching the tripod — walk the area, find your composition and foreground.
- Mount up, set ISO 100, f/8–f/11, and dial focus on the rocks roughly a third into the scene.
- Add the polarizer and rotate it while watching the rocks and leaves — you'll see the glare melt away.
- Add the ND and meter for the highlights so the white water doesn't clip; check the histogram.
- Bracket a frame or two for the shadows if the contrast is high.
- Wipe the front element between shots — spray accumulates fast and ruins more frames than anything else.
Tip: Take a "fast" frame at 1/500 as insurance even when you're going silky. Sometimes the frozen texture of the water reads better than the smooth version, and you can't recreate it later from a long exposure.
When the falls run best
Waterfalls are seasonal performers. After a wet stretch they thunder; in a dry spell some shrink to a trickle. The windward (east/north) sides stay wettest year-round, so Maui's Hana side, the Big Island's Hilo side, and Kauai's interior are your safest bets in any month. If you're chasing a specific named fall, check recent rainfall before you build a day around it — and remember that the same rain that fills the falls makes the trails slick and the streams dangerous.
Quick reference
| Look | Shutter | Filter | Light |
|---|---|---|---|
| Silky / dreamy | 1/4–2 sec | ND + polarizer | Overcast / shade |
| Textured / frozen | 1/500+ | Polarizer | Any (soft preferred) |
| Rainbow in mist | 1/100–1/250 | Polarizer (rotate to keep rainbow) | Morning sun behind you |
The gear that matters
You don't need much, but each piece earns its place: a tripod, an ND filter, a circular polarizer, a microfiber cloth, and a rain cover. Our travel photography gear starter pack lists the full kit, and the golden hour photography guide covers light-reading skills that transfer directly to shaded valleys.
Safety and respect — non-negotiable
- Flash floods are the real danger. Muddy or rising water, debris, or rain upstream means get out of the streambed immediately.
- Don't trespass. Several famous "hidden" falls cross private land or have closed. A photo isn't worth a fine or worse.
- Leave it as you found it. Stay on trails, pack out everything, and don't stack rocks or trample the banks for a composition.
- Drones are widely restricted near falls in state and national parks — check the Hawaii drone laws guide.
Which island for waterfalls?
If your trip is built around falls specifically, here's how I'd rank the islands: Maui for accessibility and variety along one scenic drive; the Big Island's Hilo side for the easiest big drops with paved access; Kauai for sheer volume and drama, though the best are reachable only by helicopter; and Oahu for a few solid rainforest trails close to the city. For most photographers, Maui delivers the best ratio of effort to reward — you can shoot half a dozen distinct falls in a single Hana day.
Get soft light, slow the shutter, and put a polarizer on the front, and Hawaii's waterfalls go from snapshot to wall art. Speaking of which — a few of these falls are available as fine-art prints and in the full gallery, and you can browse all our island work on the Hawaii destination hub.
Bring the trip home
Every photo on York Adventures is shot on location and available as a fine-art print. Browse the gallery to find a frame for your wall.
Stay in the Loop
Get new photos, stories & exclusive deals straight to your inbox.
Related Posts
Best Maui Photography Spots: A Location Guide
After five trips to Maui with a camera bag, these are the locations that consistently deliver — plus the timing, parking, and lens notes that make or break each one.
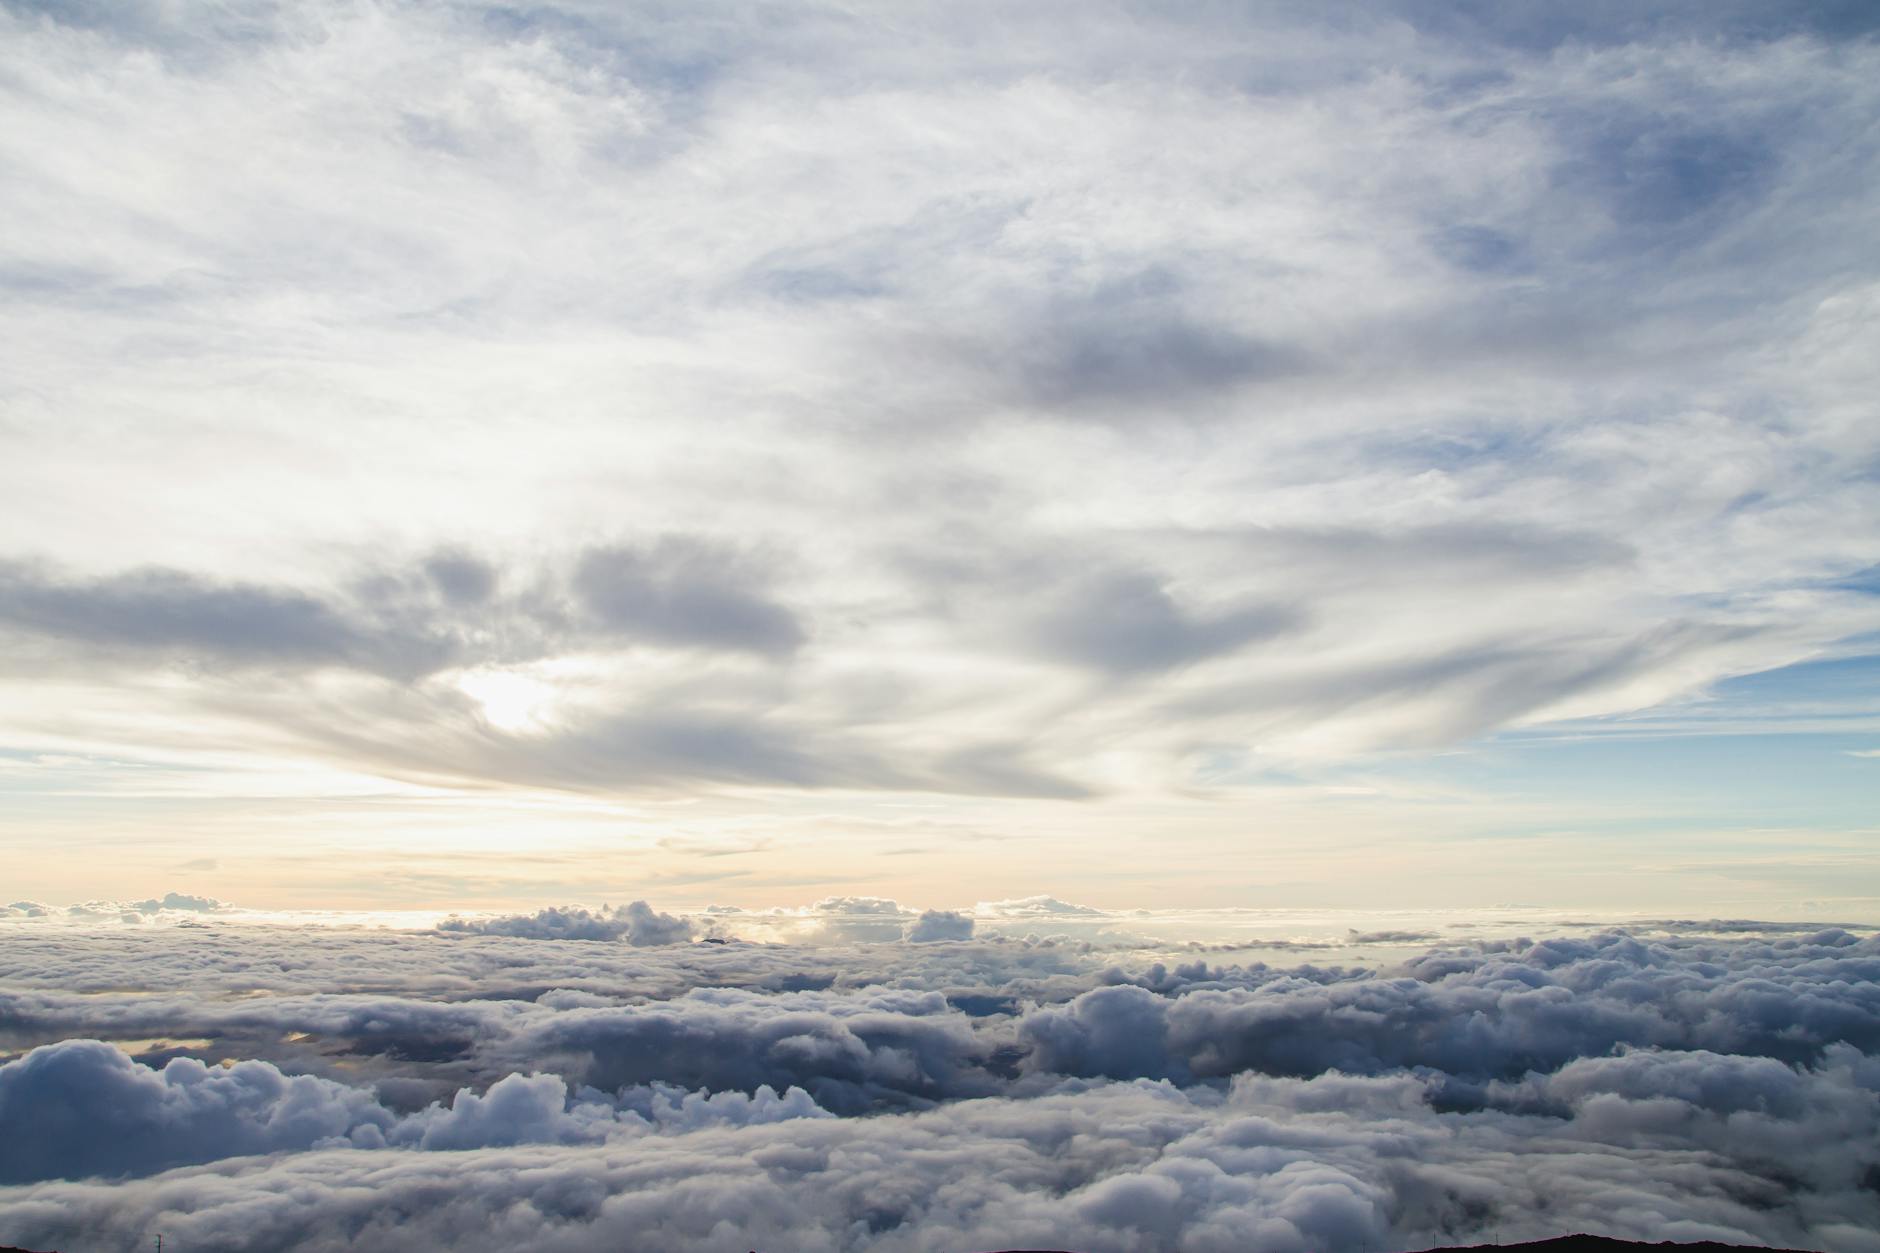
Haleakalā Sunrise Guide: Reservations, Timing & Photos
How to book the Haleakalā sunrise reservation, when to actually arrive, what to wear at 10,000 feet, and how to photograph the cloud sea before the crowd does.
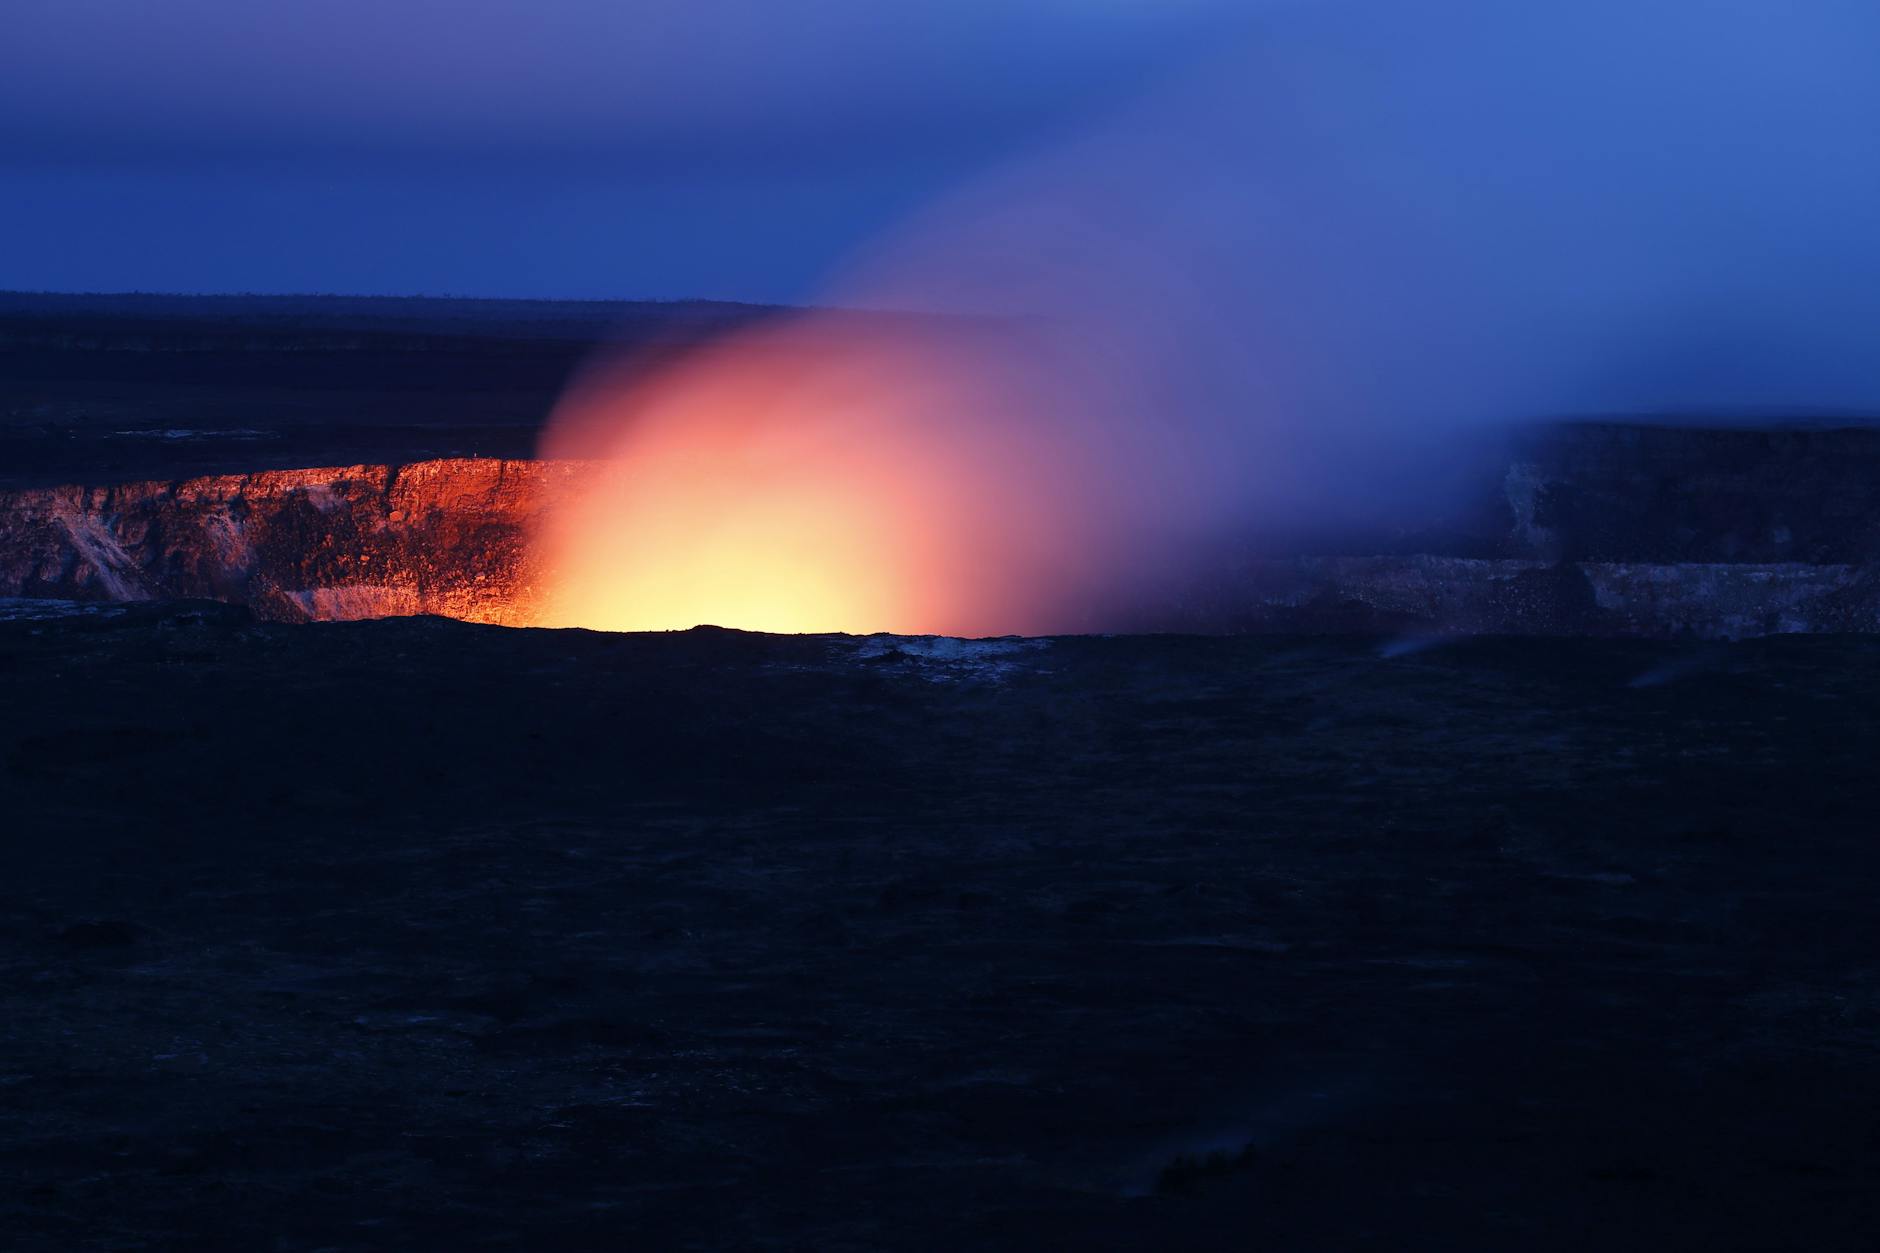
Mauna Kea Astrophotography: Shooting the Milky Way in Hawaii
Mauna Kea sits above 40% of the atmosphere under some of the darkest skies on earth. Here's how I shoot the Milky Way there safely — settings, gear, timing, and the altitude rules that actually matter.